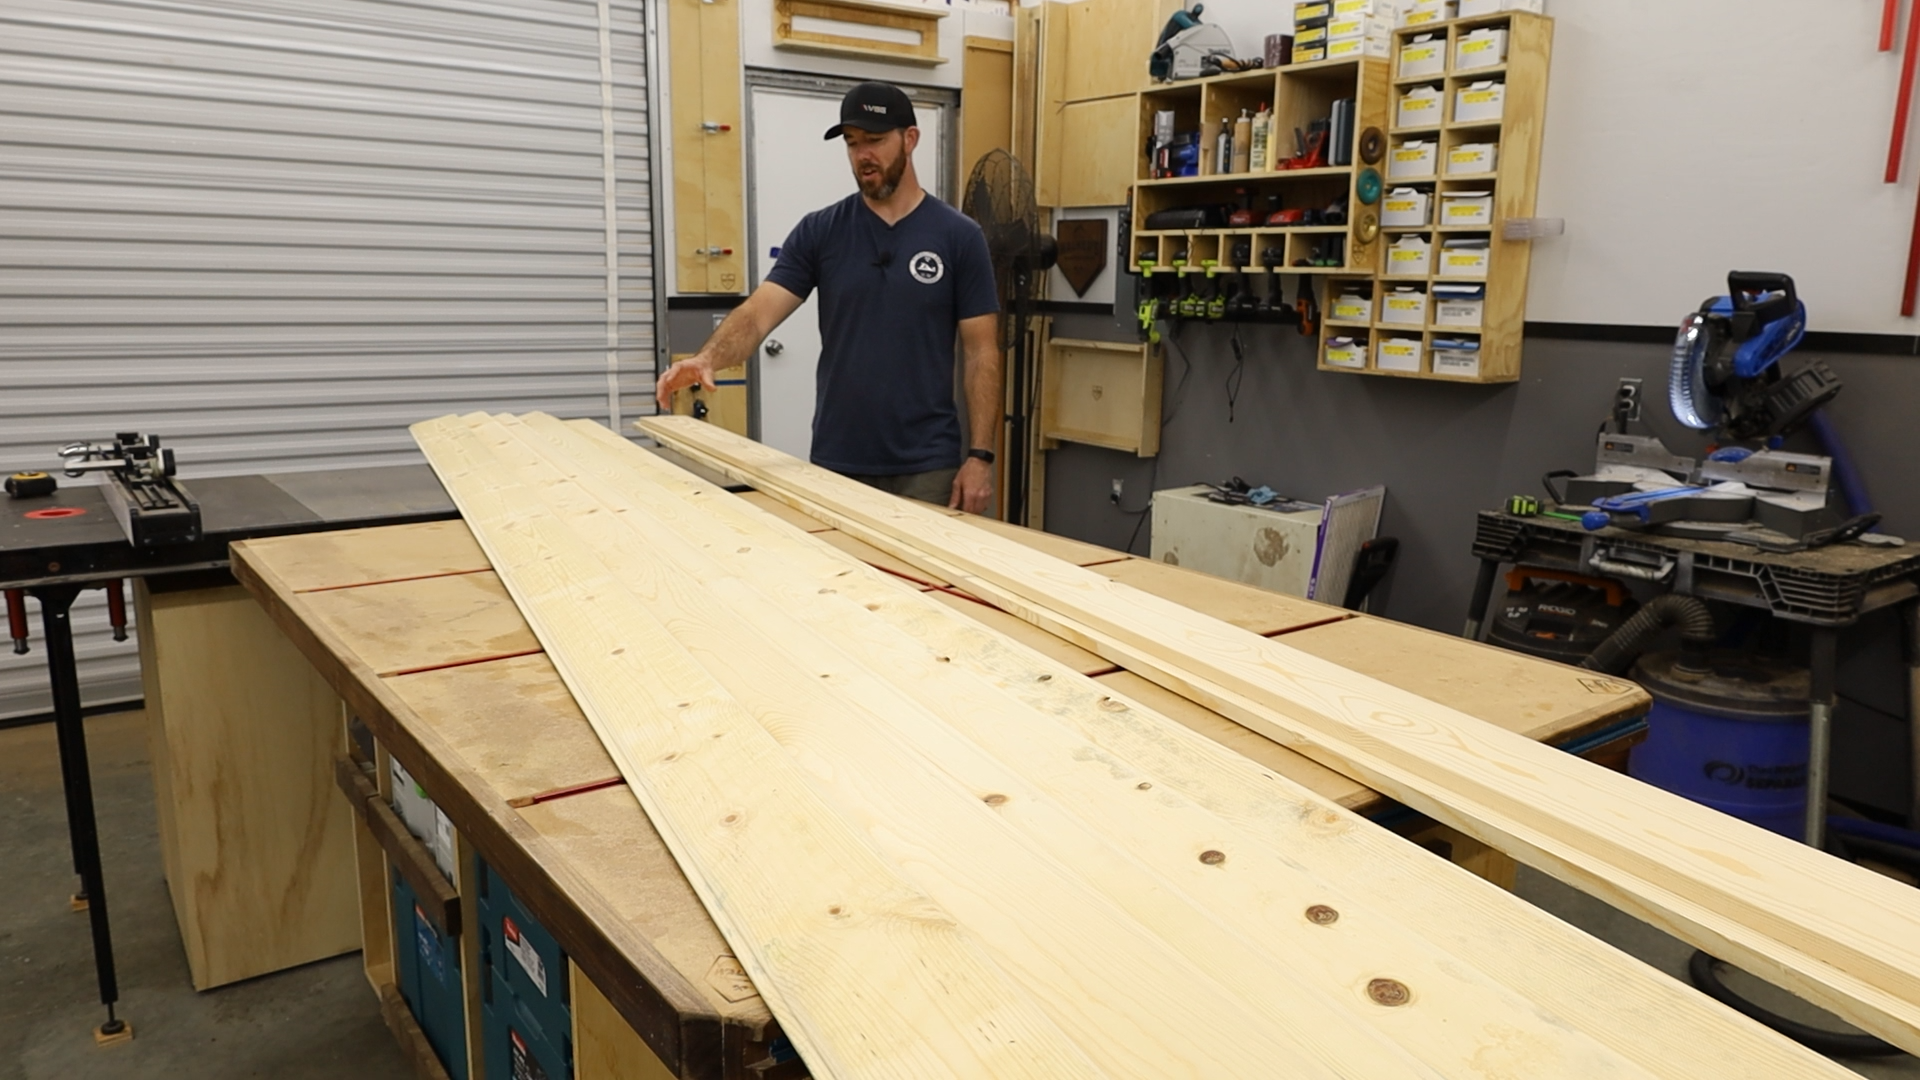
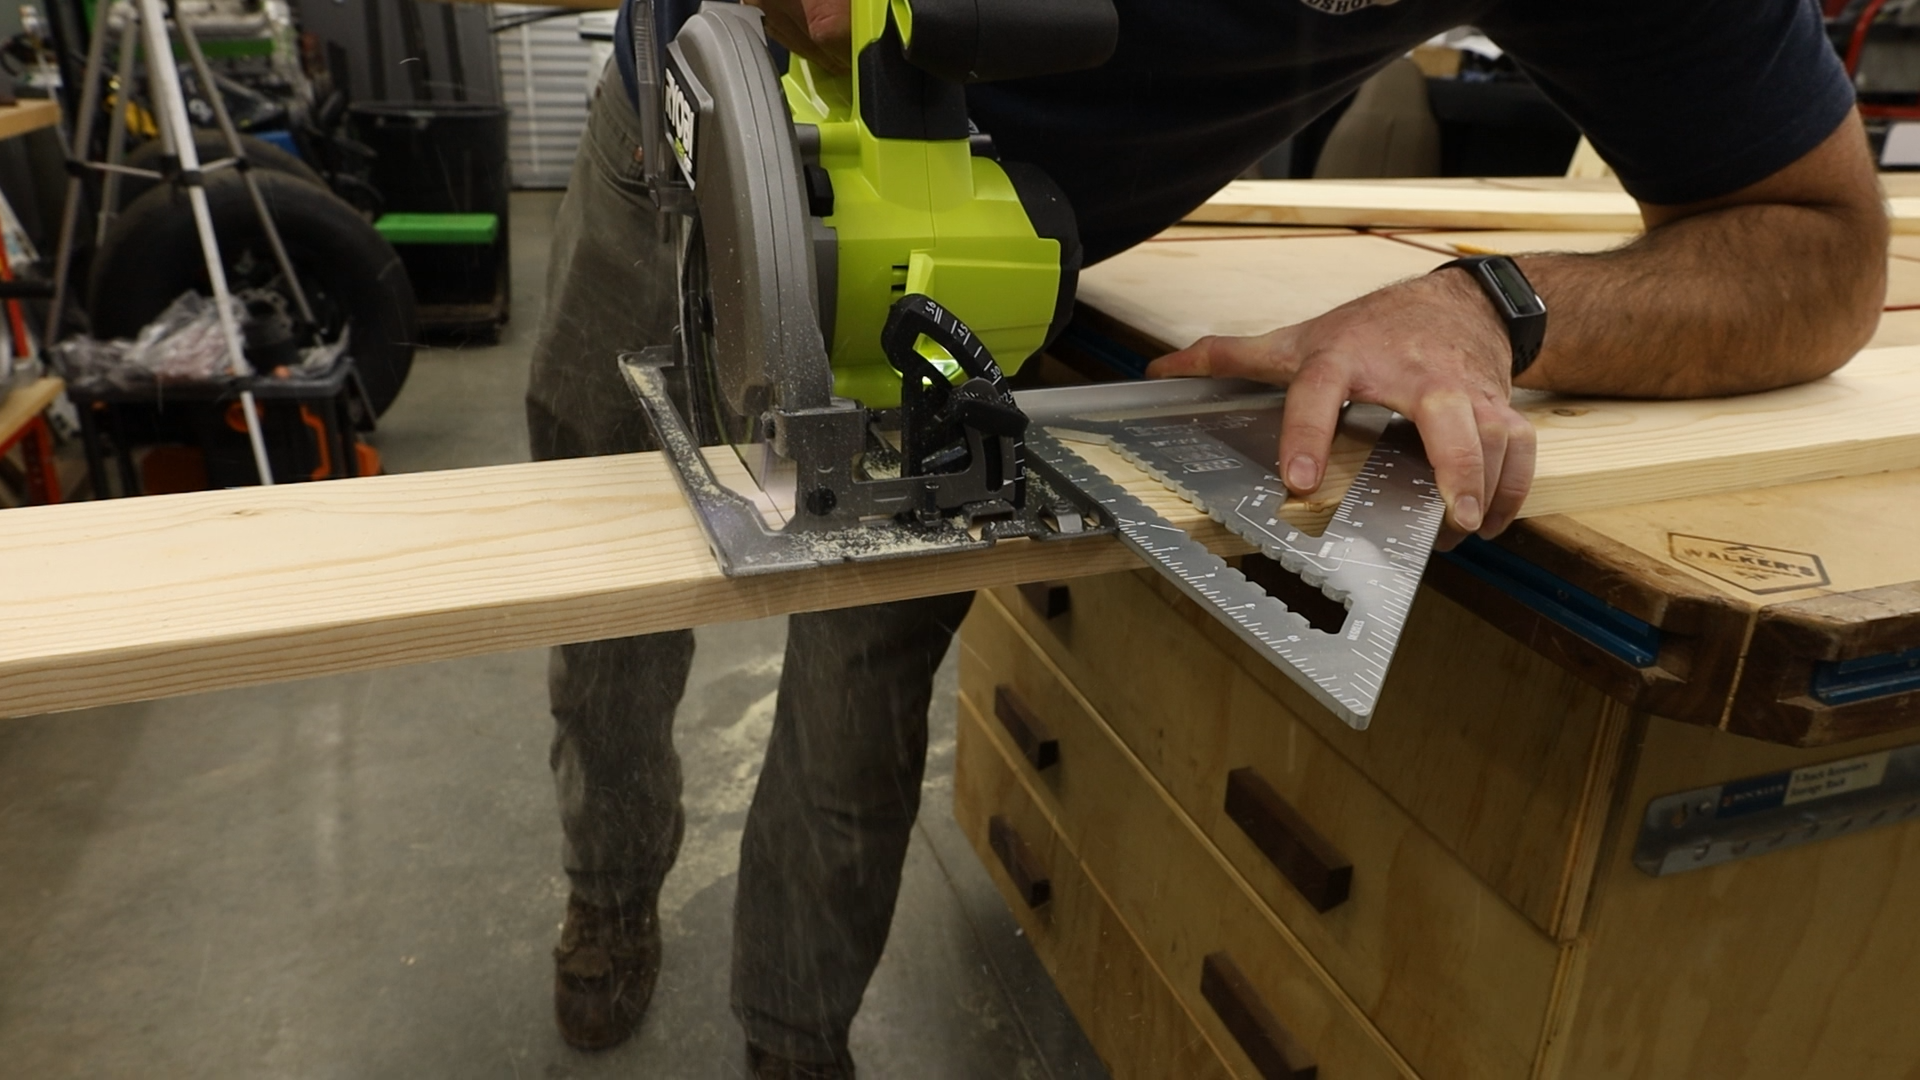
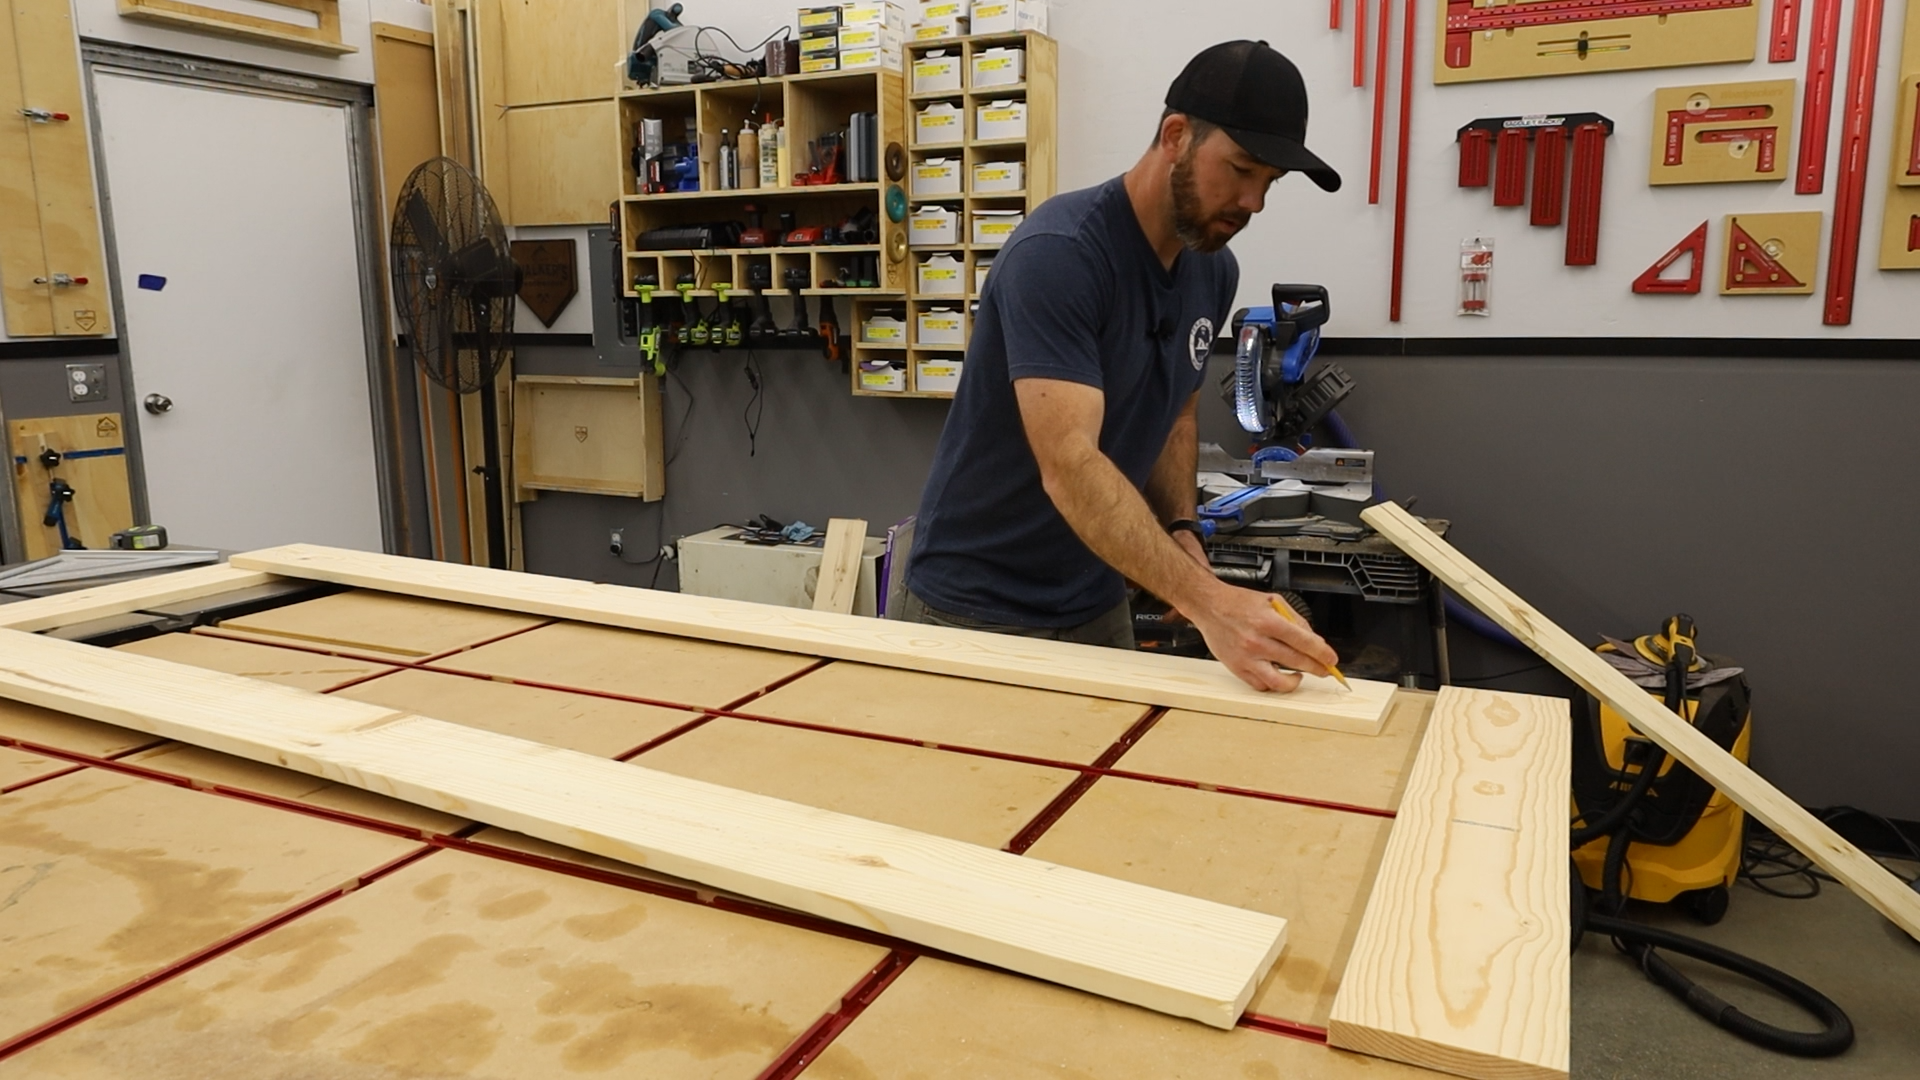
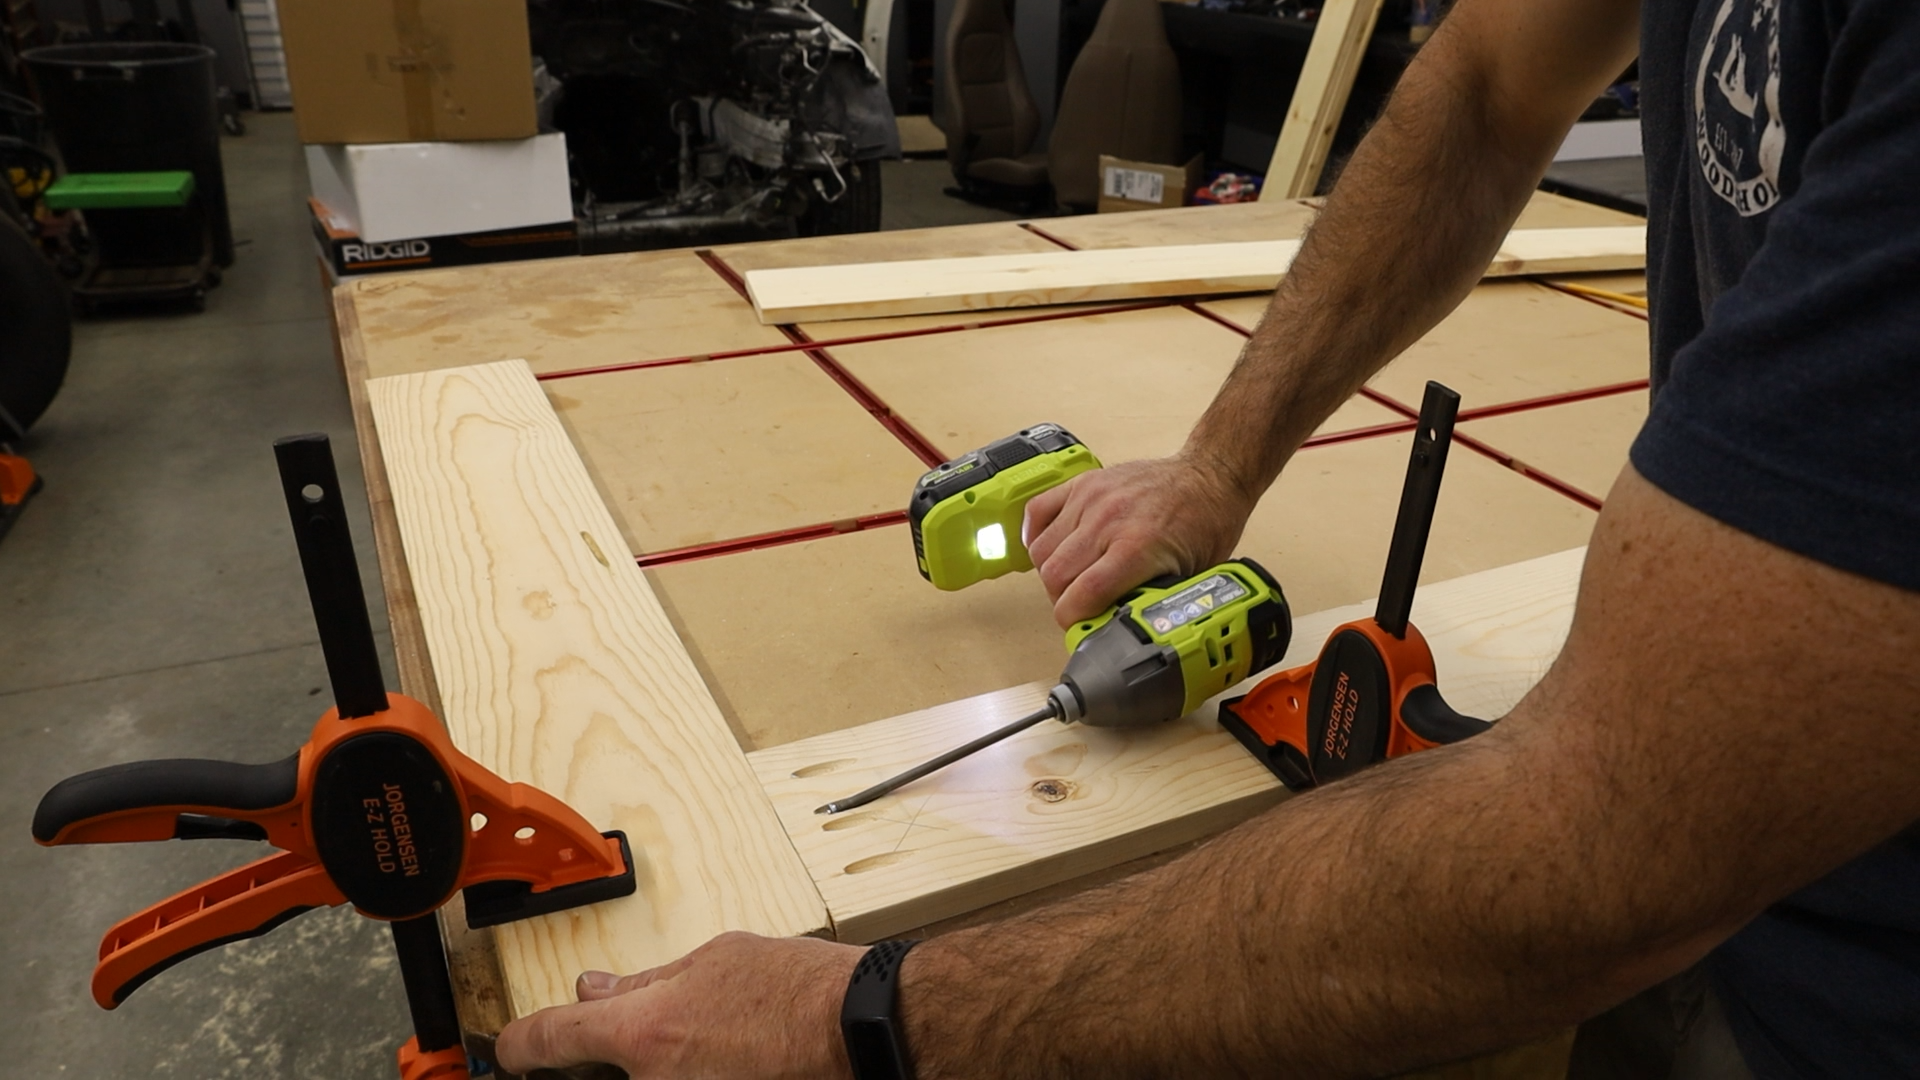
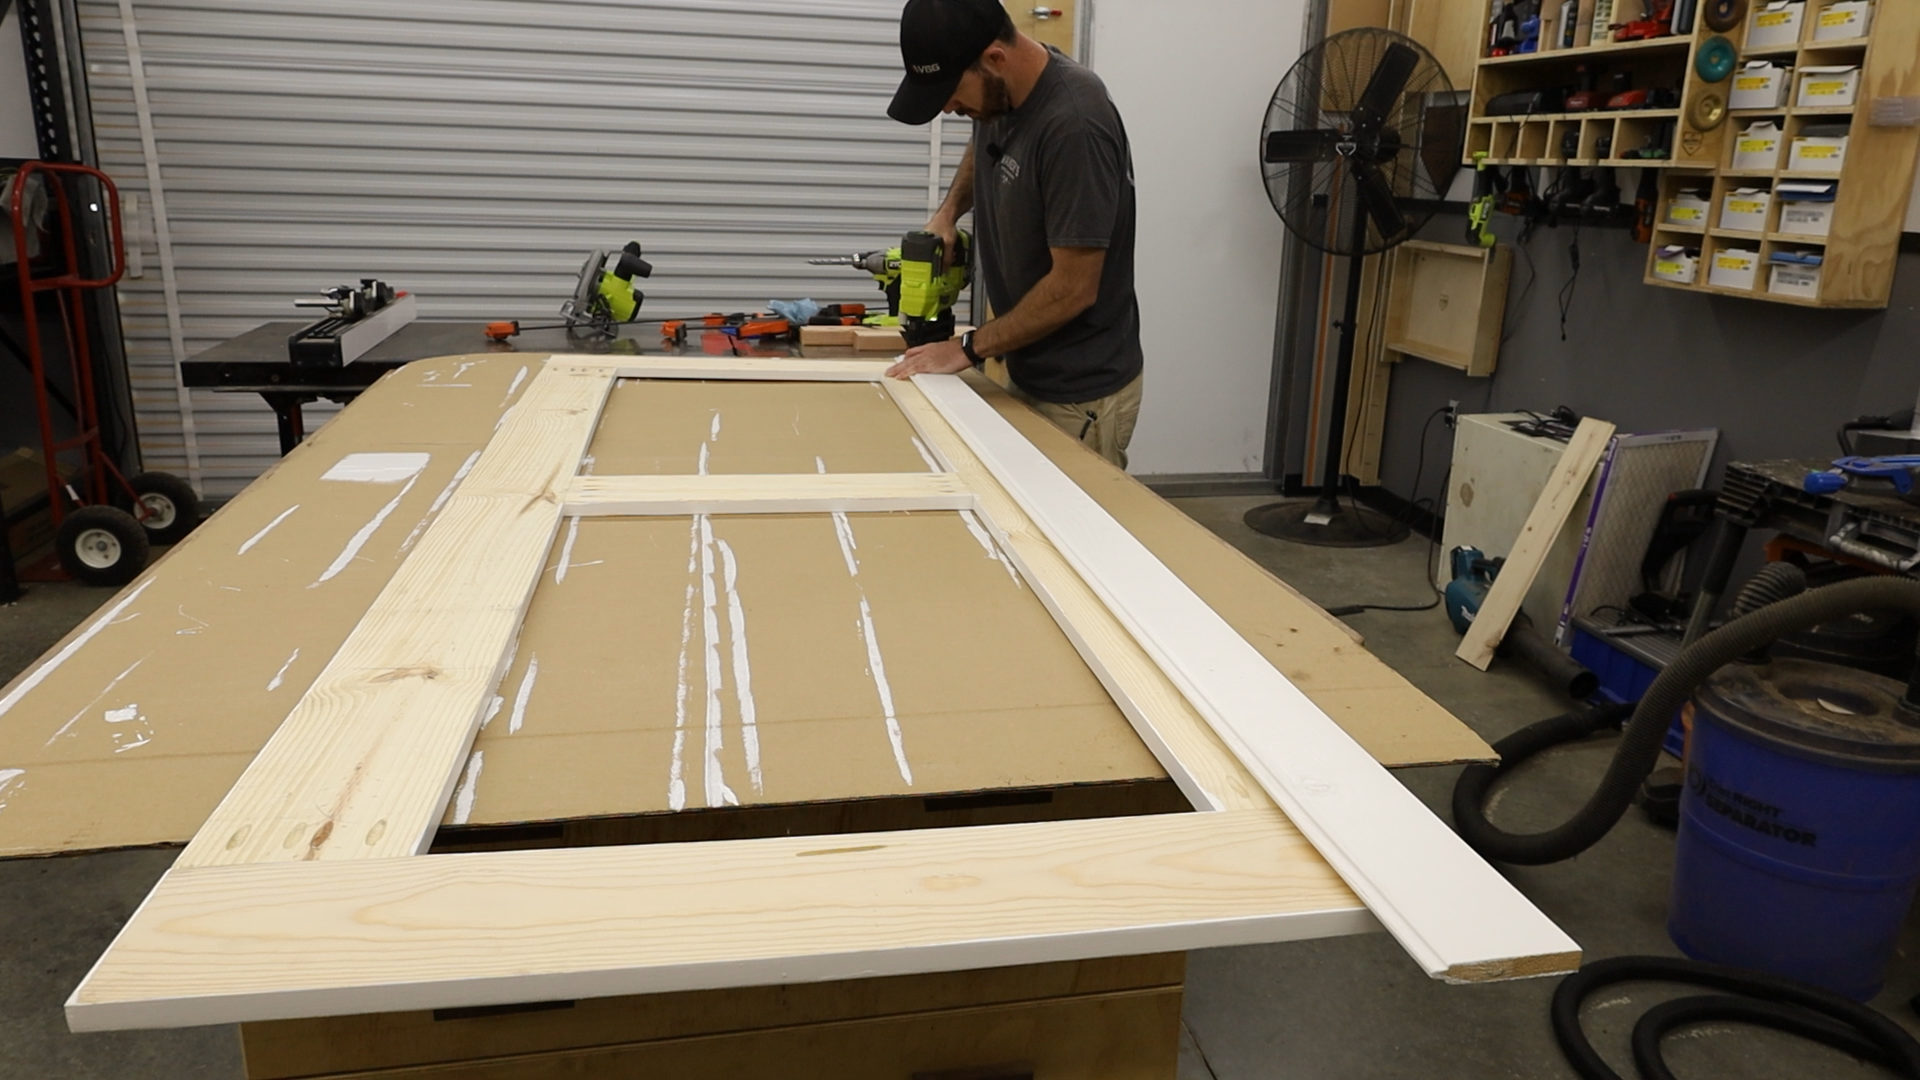
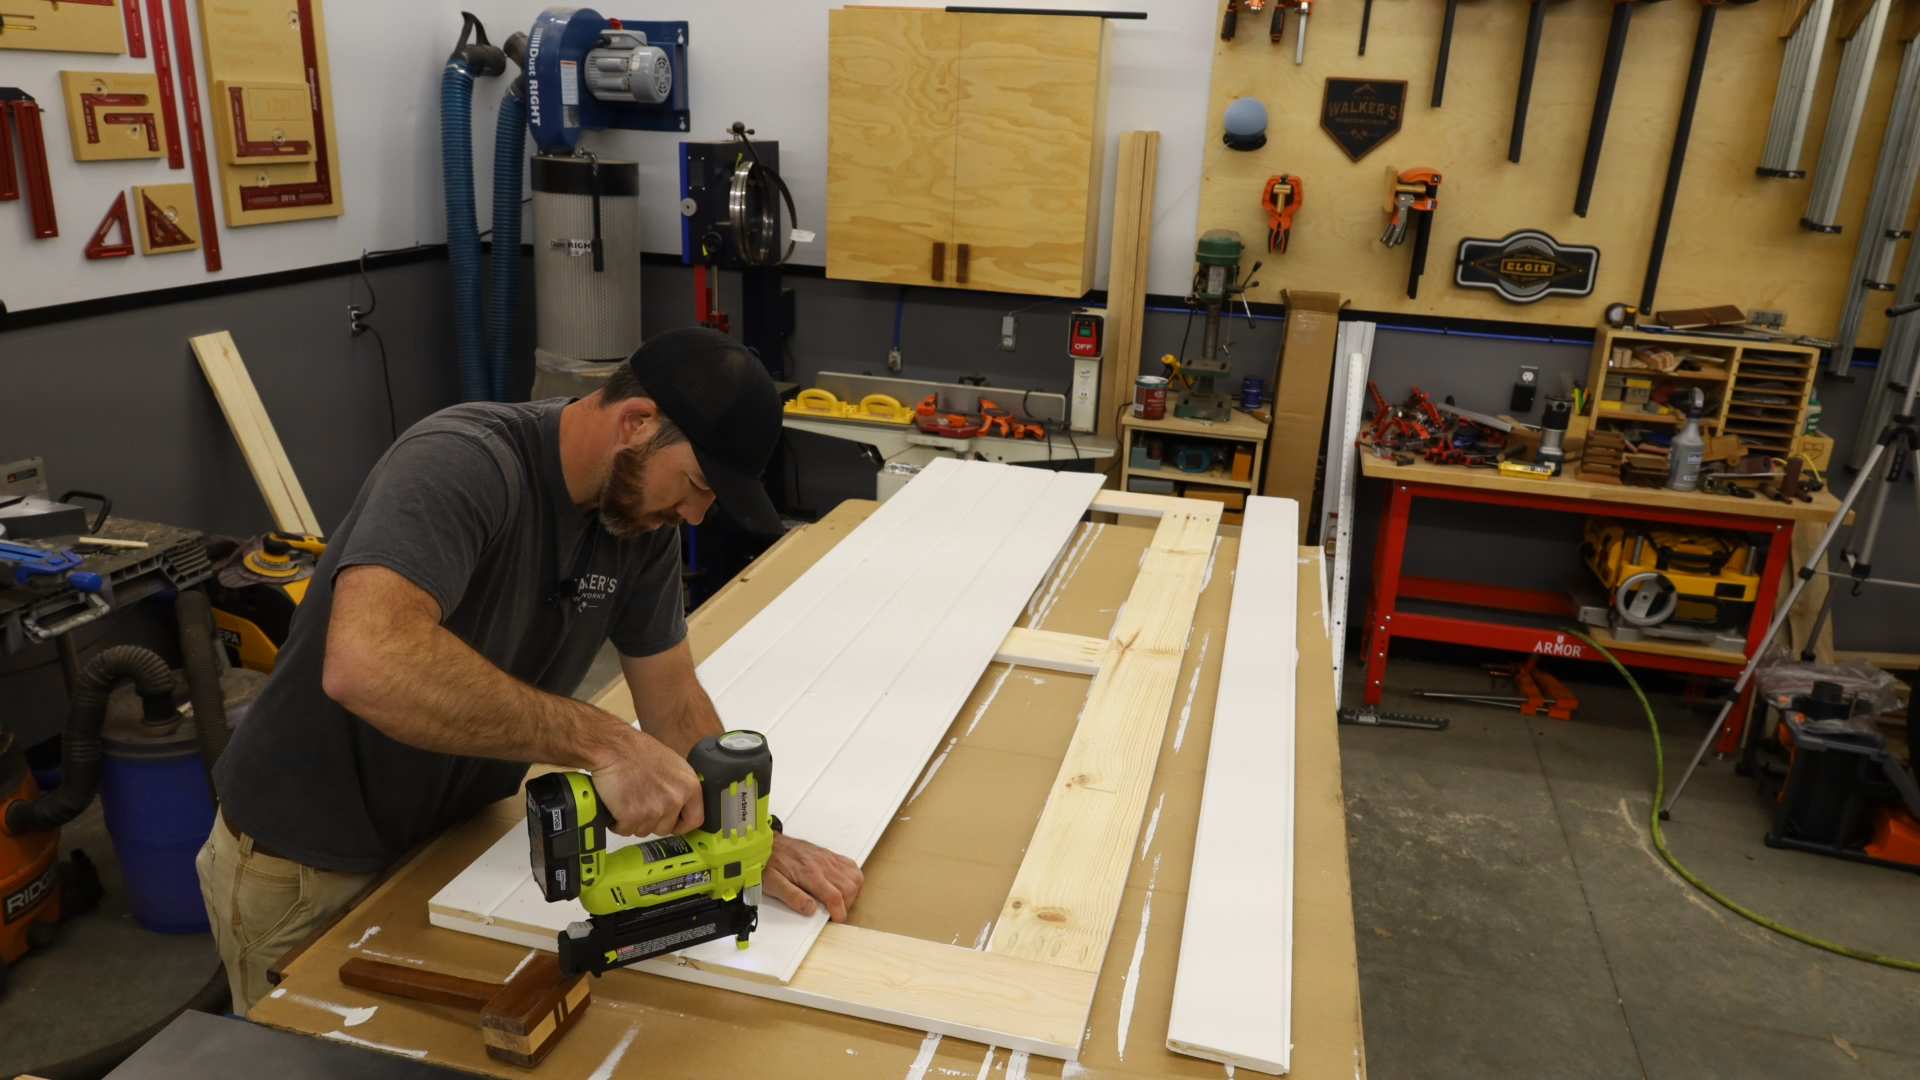
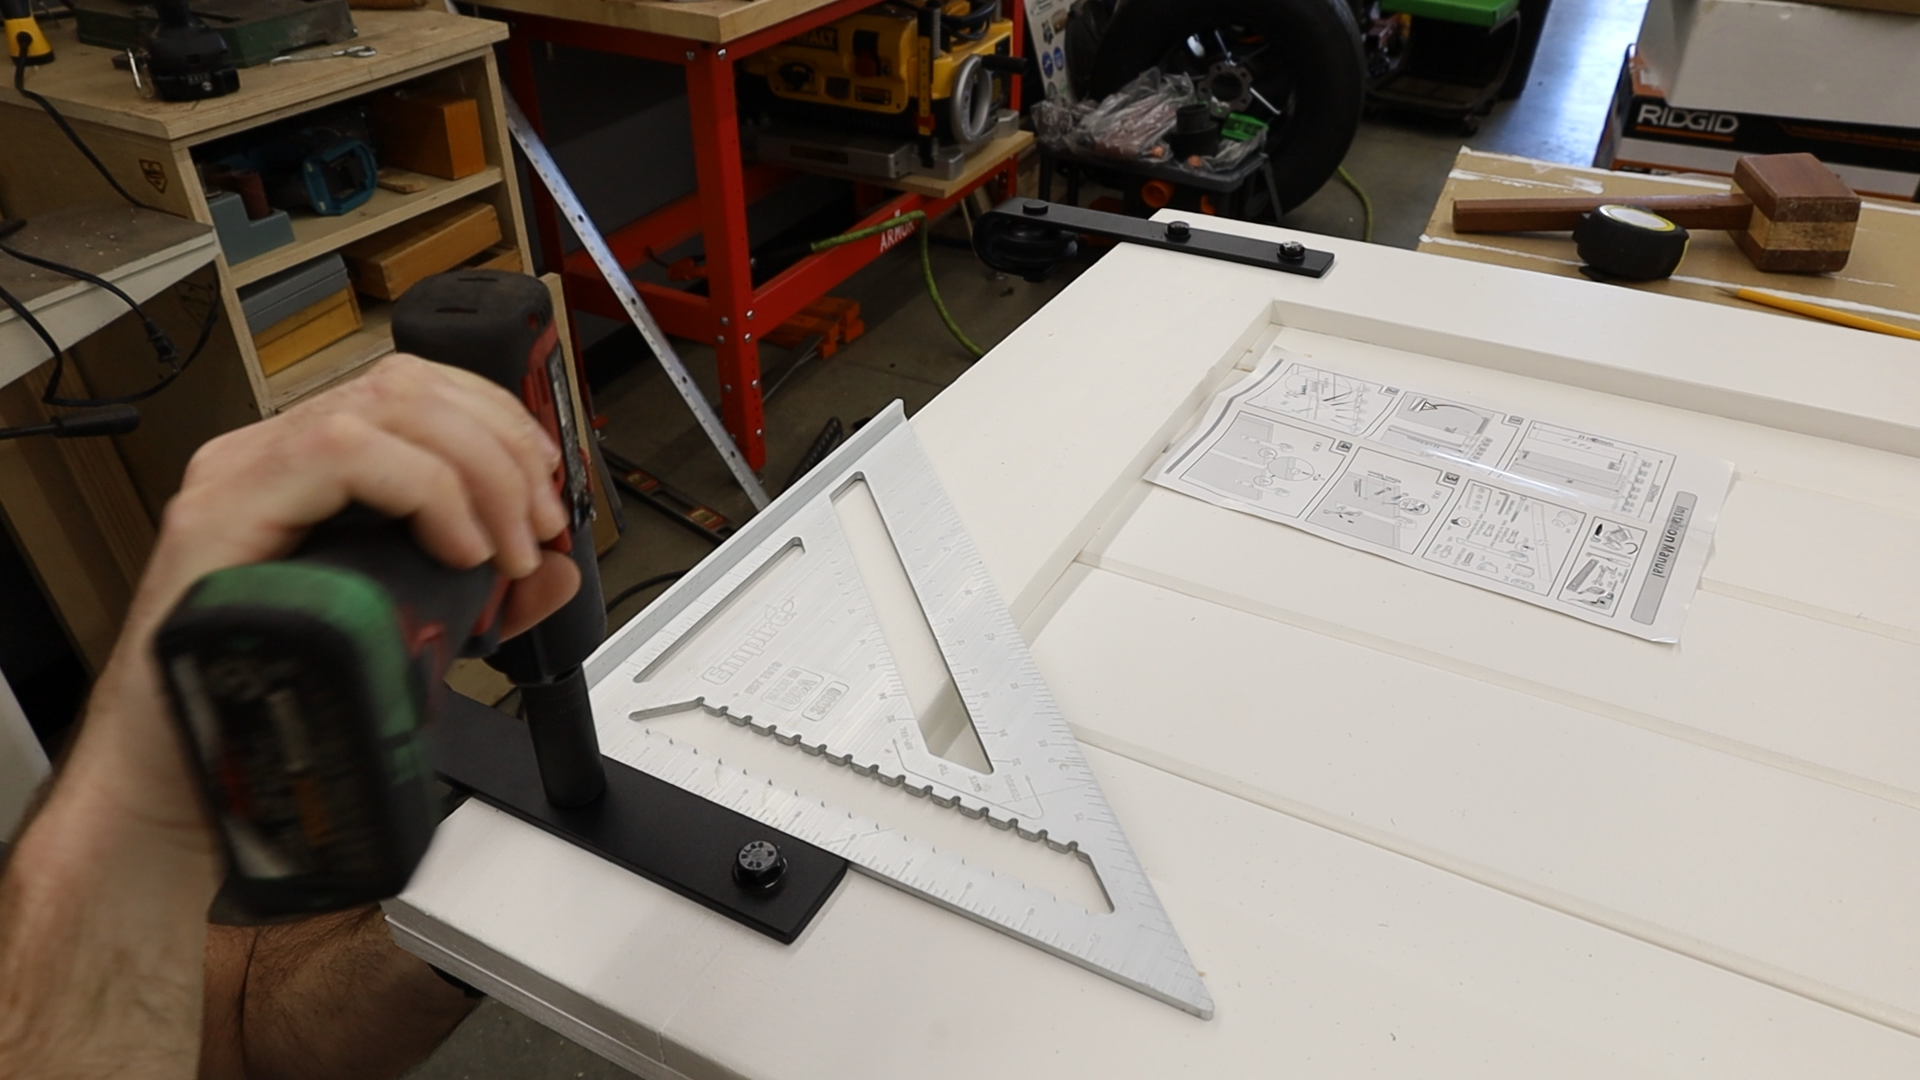
Two Day DIY Barn Door Build!

We needed a closet door for the bedroom and there isn’t really room for a normal door so we decided on a barn door. I figured I would take you guys a long for this budget minded two day build! Hope you enjoy!

Special thanks to Home Depot for inviting me to be part of the PRO-Spective program and for sponsoring this build!

Provided tools used in this build:

Ryobi ONE+ HP 18V Brushless Cordless 7-Tool Combo Kit with (2) 2.0 Ah Batteries, Charger and (2) Bags -

https://homedepot.sjv.io/c/3106512/1270162/8154


I decided to use pine for our build since I would be painting it. I used tongue and groove for the back panel and standard common board for the front. All boards were dimensional 1x5.

First thing I did was lay out all the tongue and groove boards in the orientation I thought looked best.

I then marked and rough cut all the boards I would use for the back panel a couple inches longer than they will end up so I can flush trim them with the face frame later on. I made all my crosscuts with the Ryobi cordless circular saw and a speed square. Worked great!

Once I had them all cut to length I marked and cut the outside boards on the table saw taking an equal amount off of each side. This keeps the lines symmetrical and also gets rid of the tongue and groove joints on the edges that you would see if you didn’t take this step.

Then I turned my attention to the boards that would be used for the face frame and cut the top and bottom boards to length.

After the top and bottom boards were cut I could figure out how long the vertical side boards would be by taking the overall height of my door and subtracting the width of both the top and bottom boards.

Then I figured out which side I wanted to face outward and marked the opposite side so I knew where to drill pocket holes. This way they will be hidden between the front and back panels.

Once the pocket holes were drilled I attached the to sides to the top and bottom with 1-1/4” pocket screws.

After that I took a measurement near to bottom between the sides to get the length for my center brace.

Chuck wanted to help… He wasn’t much…

I attached the center brace to the sides using pocket screws. Be sure to clamp your work piece when using pocket screws so it doesn’t move as you’re driving in the screws!

Since I was painting this project I used bondo as wood filler. YES BONDO! I learned this from a buddy that owns a cabinet shop. It works great. Just press it down into the cracks or knots and scrape off the excess then sand once cured.

Once the bondo was cured I gave everything a nice sand.

Then it was time for paint. I decided to paint before assembly to try and avoid getting into the hard to reach spots. I did not paint the ends of the back panel boards since I will be flush trimming them later anyway.

Once the paint was dry I started assembling by attaching the back panel boards to the back of the face frame with 18Ga brad nails. If I were to do this again I would also use glue to make sure the brad nails don’t pull out in the future due to wood movement.

Then I used a straight edge and circular saw to flush trim the back panel boards with the face frame. I also used my biscuit jointer to cut the slot in the bottom of the door that will house the guide that bolts to the floor.

The last thing I needed to do was attach the hardware to the door, then the wall and mount the door!

That does it! I really like how it came out and it adds some character to that empty wall plus its functional! I hope you guys enjoyed this project and hope it inspires you to get out the the shop and build something awesome! Huge thanks to The Home Depot for sponsoring this build! I will see you guys on the next one!

Brandon Walker1 Comment