3 Projects You Can Gift Or Sell!


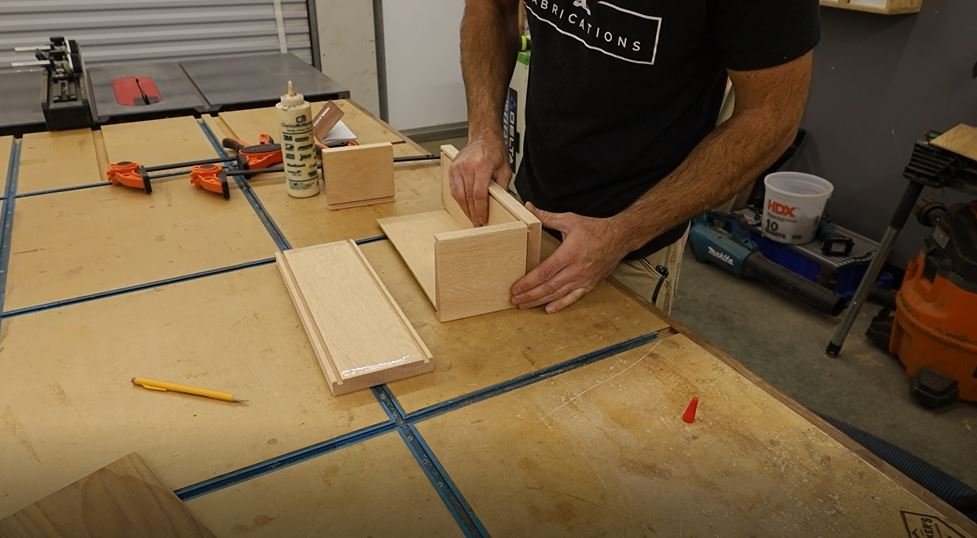
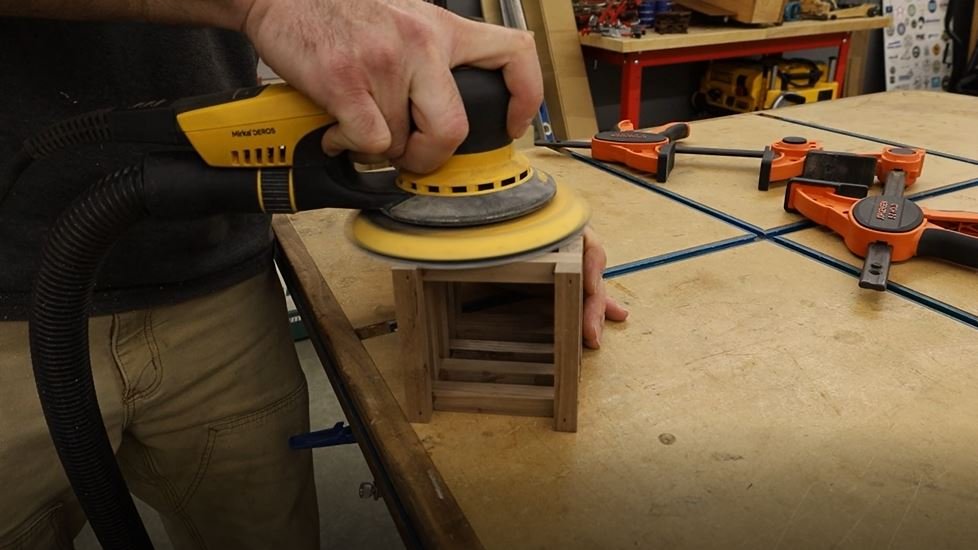
I wanted to show you guys some of the projects I make around the holidays to give as gifts or to sell! I came up with 3 that I think go over very well and most people will love. Be sure to check out the full video for a better visual.


Special thanks to Home Depot for inviting me to be part of the

PRO-Spective program and for sponsoring this build!

Tools used in this build:

18V Brushless Cordless 4-Tool Combo Kit with (1) 4.0 Ah and (1) 2.0 Ah MAX Output Batteries, 18V Charger, and Tool Bag
http://homedepot.sjv.io/c/3106512/1208548/8154

ONE+ 18V Lithium-Ion Cordless AirStrike 18-Gauge Brad Nailer and 16-Gauge Straight Nailer 2-Tool Combo Kit
http://homedepot.sjv.io/c/3106512/1208549/8154


The first project is one that takes me back to my roots. I figured it would be cool to make some coasters. But, Not just any coasters. These would look like mini pallets! For those of you that don’t know, when I first started woodworking I literally made everything out of pallets. Come to find out, a lot of woodworkers got started that way around that time. In fact, My first business name was Brandon’s Pallet Creations… My friends still haven’t let me forget about that…

Anyway… The first step to making these cool little coasters was to cut the “planks” I used some scrap walnut and cut strips that were 1/4” x 3/4” I think I ended up with about 4 strips that were 24” long or so.

Once I had several strips cut up I trimmed them down to 4" lengths at the miter saw. Setting up a stop block made it a lot easier to do repeatable accurate cuts.

After that I went back to the table saw to cut what will be considered the pallets runners. I cut these to

1/2" x 3/4". Then also cut them to 4" lengths.

That's really all the pieces needed for these cool little coasters. To assemble I clamped a square to my assembly table and used the pieces for the coasters as spacers. I only glued the runners to the outer two and center pieces. I used CA glue and accelerator then flipped it over, removed the spacers and secured them with 5/8" brad nails.

That takes care of the bottom. Then I flipped it over and just tried to evenly space out four planks for the top. Using the same method to secure them.

Once they were assembled I just used a sanding sponge to knock down any sharp edges.

I tried a little finishing experiment with these. For the first one I used Rubio Monocoat which is a hard oil and wax blends that I use a ton in the shop. The problem with it on these little coasters was tying to get it in and back out of the small areas.

The second method I used cutting board oil and just poured it over the whole thing capturing what didnt stick in a bucket to be reused. Then I just let it drain in a clean bucket.

The third thing is what I consider the best and most efficient way and that’s spray lacquer. This was by far the easiest to apply and it looks good too. I applied 4 coats.

Here is a side by side of them. What one do you like best?


Project number two is a wine gift box. Who doesn’t like to get a good bottle of wine as a gift? I decided to make this one out of some white oak and walnut 1/4” ply.


First step was to cut down the white oak board to 5” wide on the table saw. This box will end up being 14-1/2” x 5” x 5” So make sure you have a long enough board to allow for that if you decide to make one of these for yourself.

Next I cut in two small 1/4” x 1/4” dados 1/2” from each edge down the full length of the board. This will be what houses the bottom and the sliding lid. You can do this by taking two side by side passes with a full kerf table saw blade which typically is 1/8” wide.

Next I took the board to the miter saw and cut two pieces that were 14-1/2” and two that were 5”.

Once I had all the pieces cut for the sides I took one of the small ones and cut it off at the dado I previously had cut in it. This will allow space for the top to slide in from the end.

Next I dry fit all the pieces for the sides and clamped them together so I could measure for the top and bottom panels. You want the BOTTOM panel to be 1/4” bigger in width and length than the inside measurement of the box. This allows the panel to sit in the slot but also float to allow for wood movement.

For the top panel it will be the same width but you want to ensure the inside of the box all the way to the edge of the piece we cut the edge off of and add 1/4” to that. This ensures the panel will sit in the grove and be flush with the outside of the box.

I cut both panels to width and length then I was ready to start assembly.

To assemble this box I decided to use glue, screws and dowel plugs to cover up the screw heads. First step was to glue it all together using clamps.

Then I moved onto drilling and countersinking the screw holes. with a tapered bit that had a built on 3/8” long countersink on it.

Then I could install some 1-5/8” screws to secure it.

Once I had all the screws in I glued in some 3/8” dowel chunks I cut off of a long dowel rod.

After I let the glue cure for an hour or so I flush trimmed all the plugs with my Ridgid Multi-Tool and sanded them flush.

Last step to assembly was to glue a small piece of walnut to the lid for a handle.

I final sanded everything to 180 grit.

To finish the box I chose a hard wax and oil blend. Its easy to apply and I like the natural look it leaves.

The third and final project is something kind of cool I think. It is a modern style pen or pencil holder. I made this one out of white oak and walnut as well. The first step was to plane down a piece of walnut to 1/2” thick.

Next I took that board to the table saw and cut it up into 1/2” strips. I ended up with 5 strips that were about 24” long.

I cut those strips into as many 4” lengths as I could with my miter gauge.

Once I had all my pieces cut I started assembling them using the same clamed square as I did with the coasters. the two pieces on the table will actually be the top. So I am shooting 1” brand nails in from the bottom side technically so you wont see them once the piece is right side up.

I stacked and nailed the pieces on until it reached a height of about 5”

I also added two smaller pieces to the side that would become the top (the side without the brain nails showing) just to box it in for a more finished look.

Once that was done I cut a piece of 3/4” white oak to 5”x5” for the base. I also put a pretty heavy chamfer on it to make it flow into the piece a little better.

I then sanded everything flush and attached the top to the base using glue a piece of scrap and a clamp.

While that was curing I turned my attention back to the wine box and filled it with some shredded cardboard and the wine bottle .

Then once the pen holder was cured I finished it with some spray lacquer. I though it would be the best choice because of all the hard to reach places. I learned my lesson with the coasters!

That wraps it up! What do you guys think? Ready to get out in the shop and build some yourself? I really appreciate you taking the time to check out this project and the support!

Don’t forget to check out the video and we will see you on the next one!

Brandon Walker