
DIY Garden Arbor
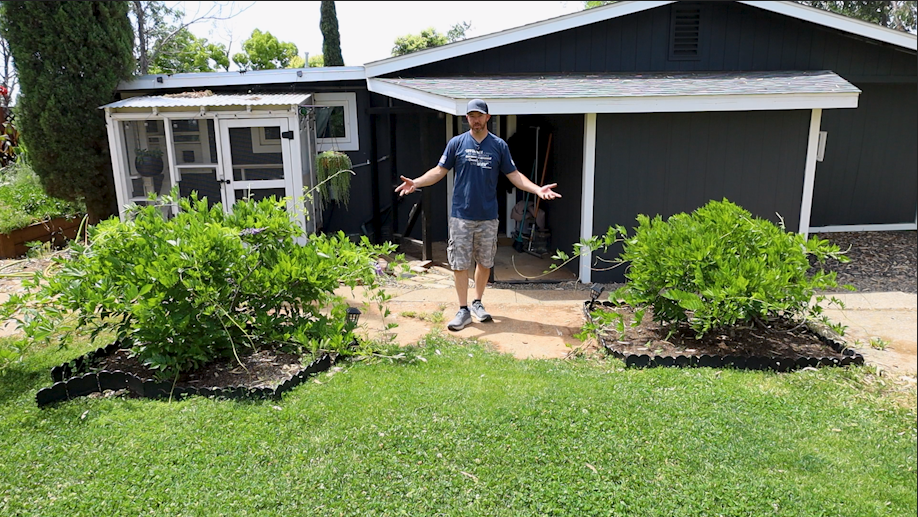
These two wisteria bushes have been here since we bought the house and they just kinda grow wherever they want. Well, I figured it was time to fix that with an awesome Redwood arbor for them to grow up! I am sure you could find a spot for one of these in your yard as well! Don’t forget to watch the You Tube video for even more detailed instructions!
Special thanks to Home Depot for inviting me to be part of the PRO-Spective program and for sponsoring this build!
Provided tools used in this build:
ONE+ HP 18V HIGH PERFORMANCE Lithium-Ion 6.0 Ah Battery (2-Pack)
https://homedepot.sjv.io/c/3106512/1354703/8154
40V 10 Gallon Cordless Wet/Dry Vacuum
https://homedepot.sjv.io/c/3106512/1354699/8154
LINK Rolling Tool Box with LINK Medium Tool Box and LINK Standard Tool Box
https://homedepot.sjv.io/c/3106512/1354704/8154
40V Lithium-Ion 4.0 Ah Battery and Charger
https://homedepot.sjv.io/c/3106512/1356085/8154
Ryobi ONE+ HP 18V Brushless Cordless
7-Tool Combo Kit with (2) 2.0 Ah Batteries, Charger and (2) Bags -
These are the two Wisteria bushes I was talking about. I figured an arbor between these would be perfect. I settled on Redwood even though it was a bit more expensive. You could also use cedar or even construction lumber if painted with exterior paint. I just love the natural look.
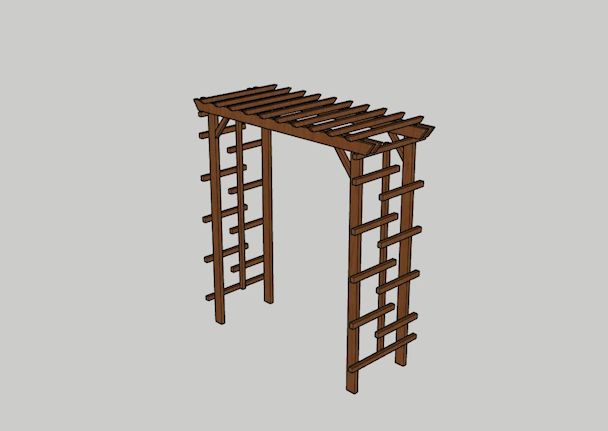
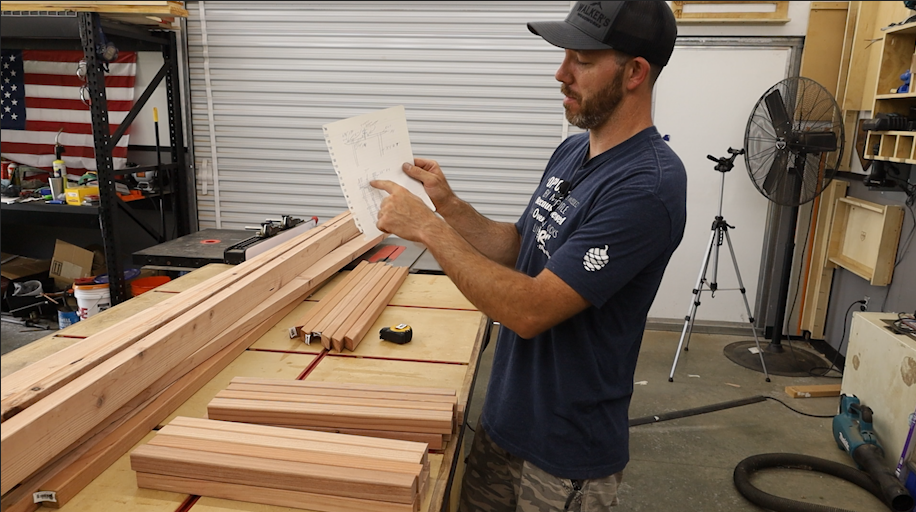
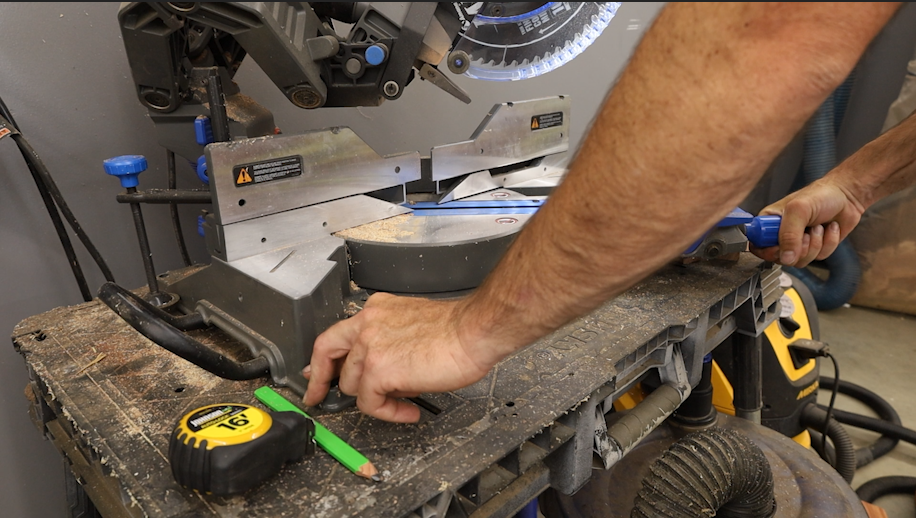
So I started with a pile of some 2x4’s and a bunch of 1.5”x1.5” pieces I found near the stair building materials that were already cut at 45 degrees on both ends and were somehow the right size for the pieces I wanted to put across the top. I also will be using these for the “lattice” on the sides. I also designed it in sketch up so you get an idea of what were going to be building.

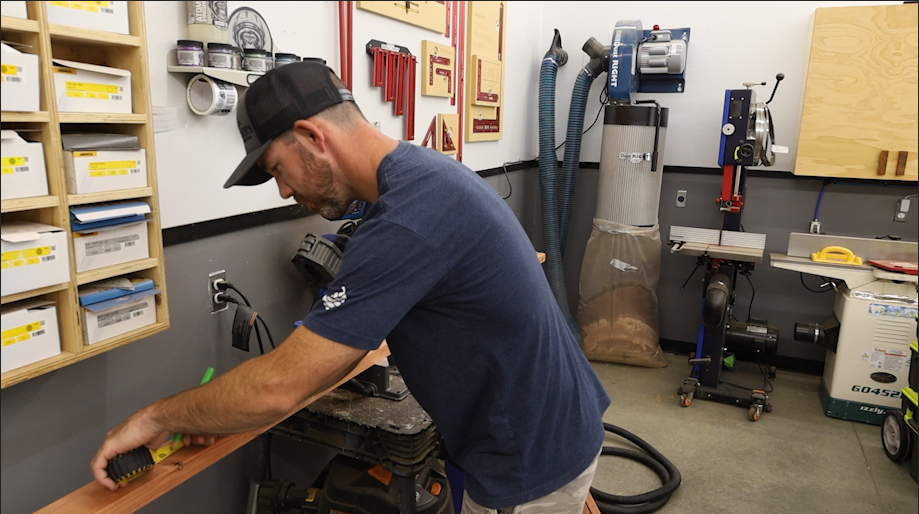
I started by cutting all the smaller horizontal side pieces out of the 1.5” x 1.5” material and also the top and bottom horizontal pieces as well as the center vertical piece.
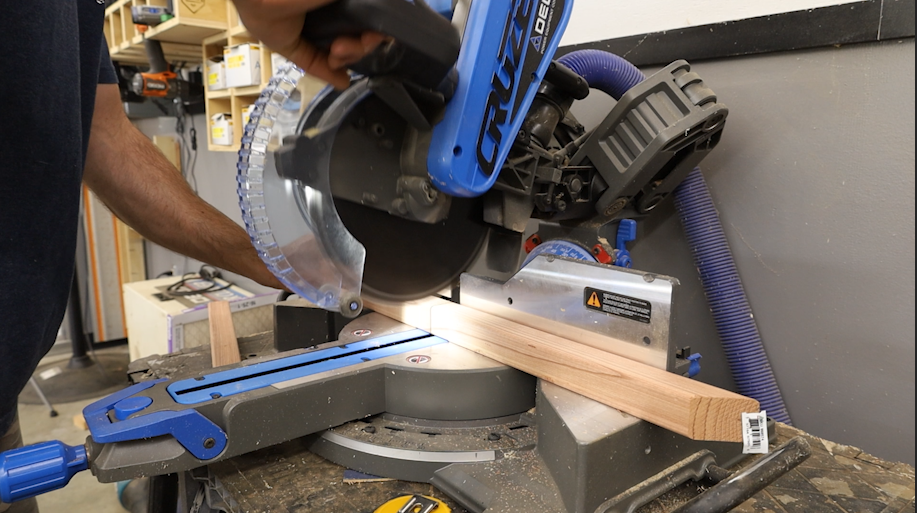
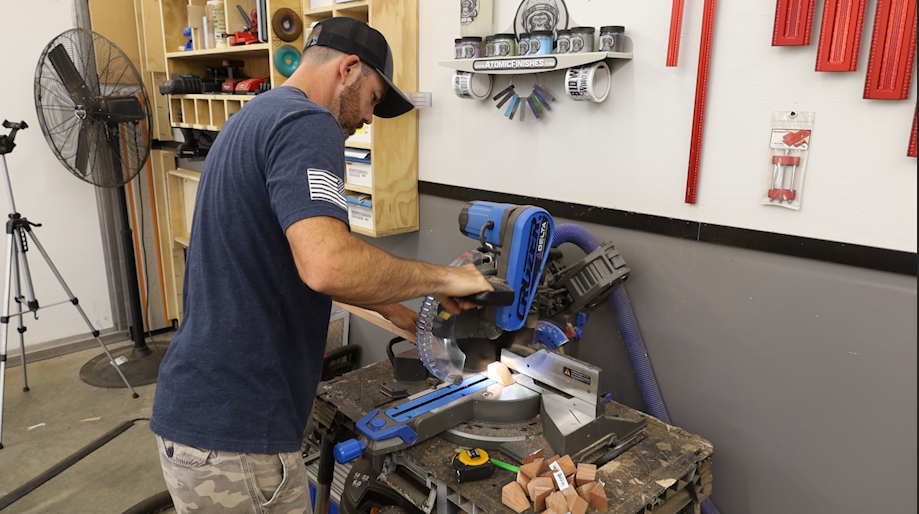
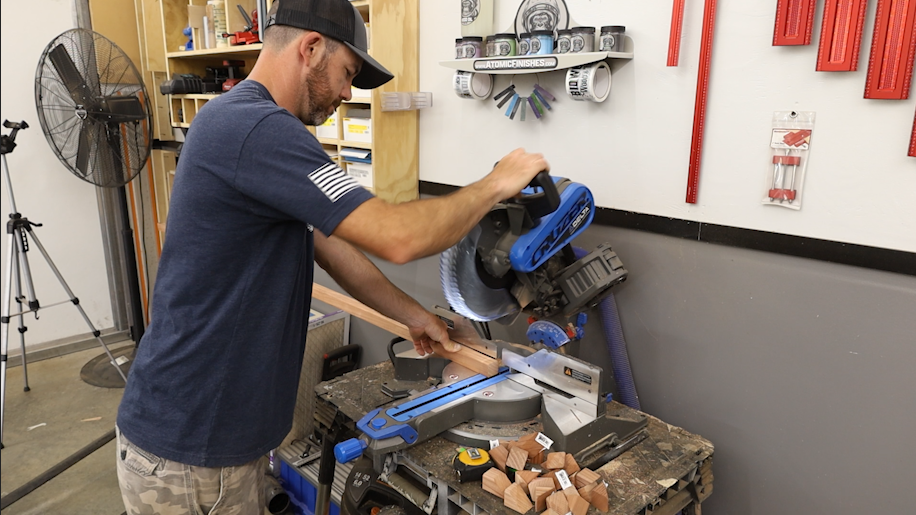
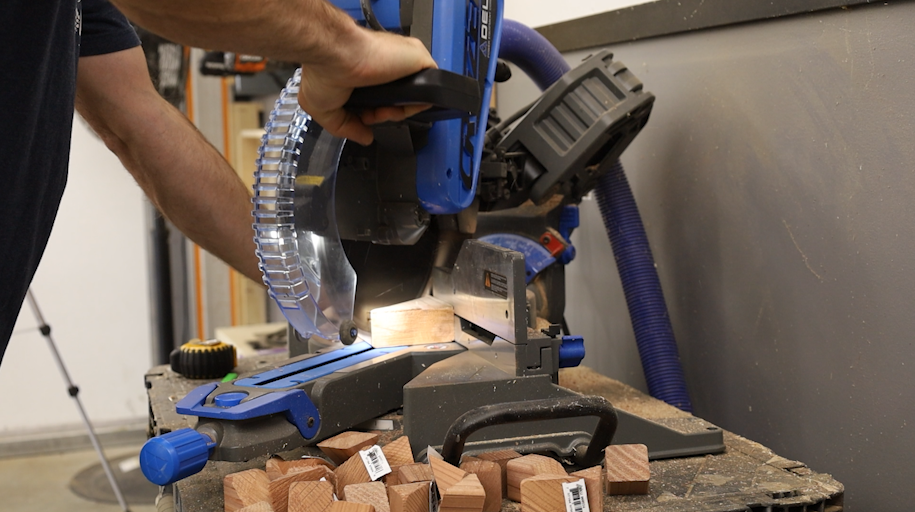
Once I had all those cut I moved onto cutting the 4 legs
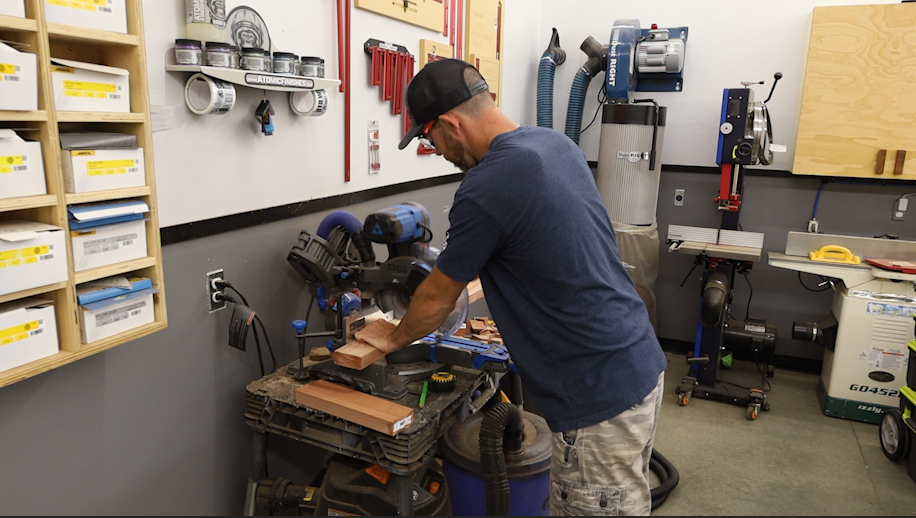
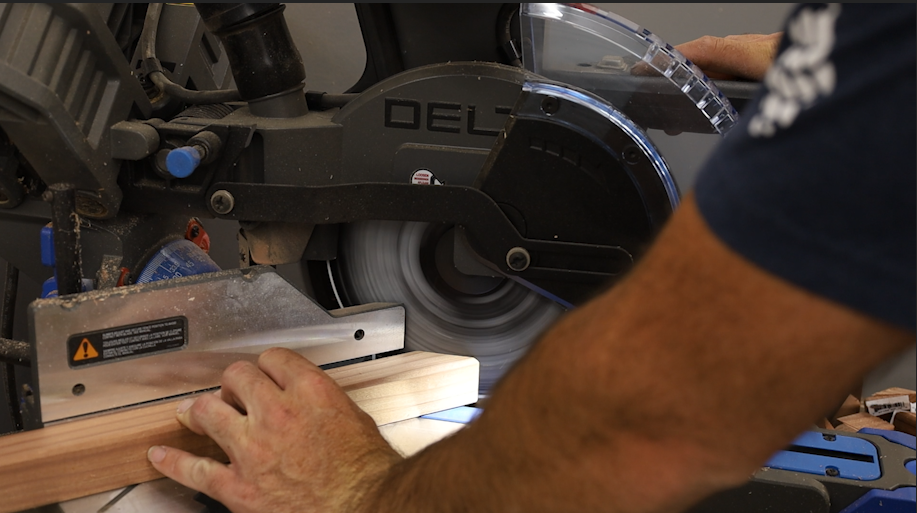
That would be all the straight cuts I needed. so I set my saw up to cut at a 45 degree angle and cut the 4 pieces that would run from side to side and connect the legs. I also cut 4 pieces that will be braces between the top pieces and the legs while I had the saw set up.
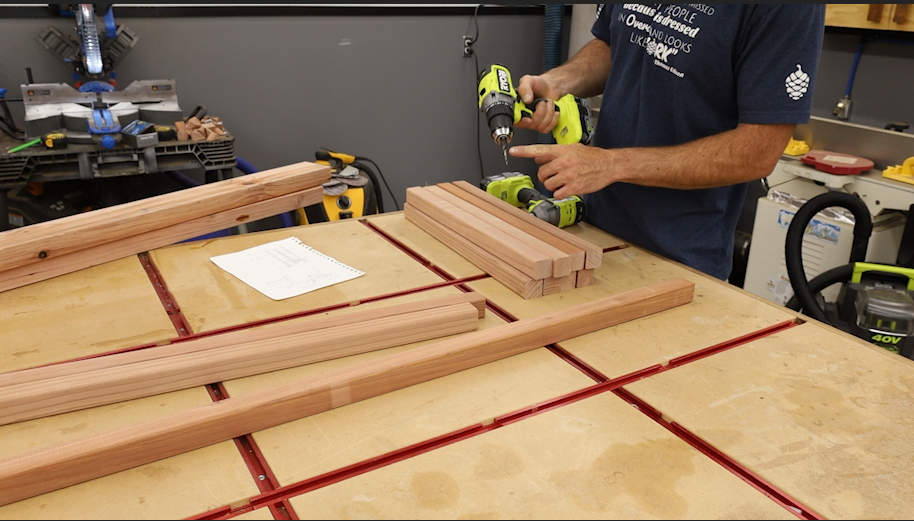
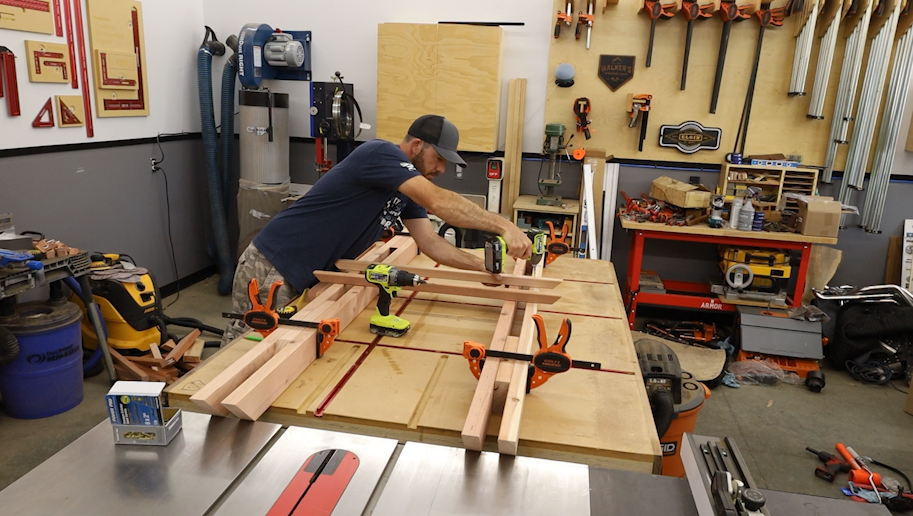
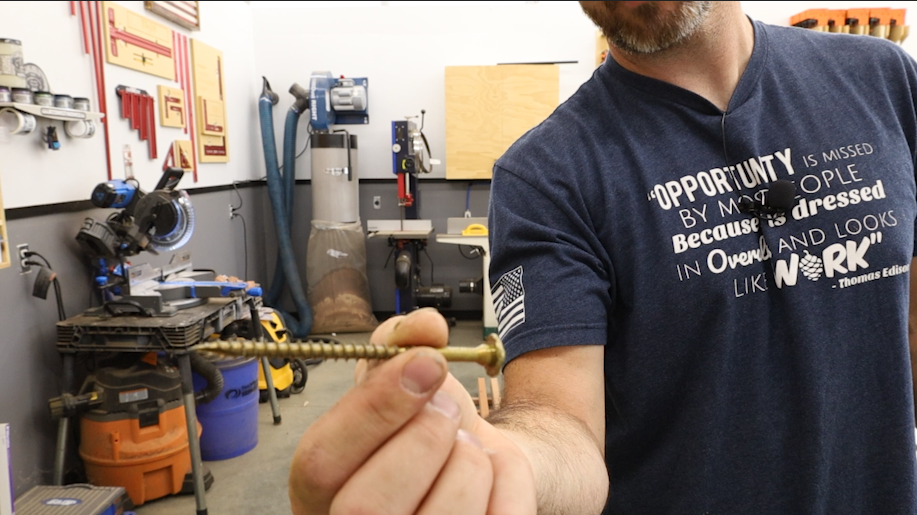
After all my pieces were cut I could start assembling. I decided to assemble one whole side at a time and then the top. I started by attaching the top and bottom braces between two of the legs. then moved onto adding the center vertical brace. I attached these using a tapered drill bit with a built in countersink on my Ryobi drill and secured them with 2” exterior rated screws.
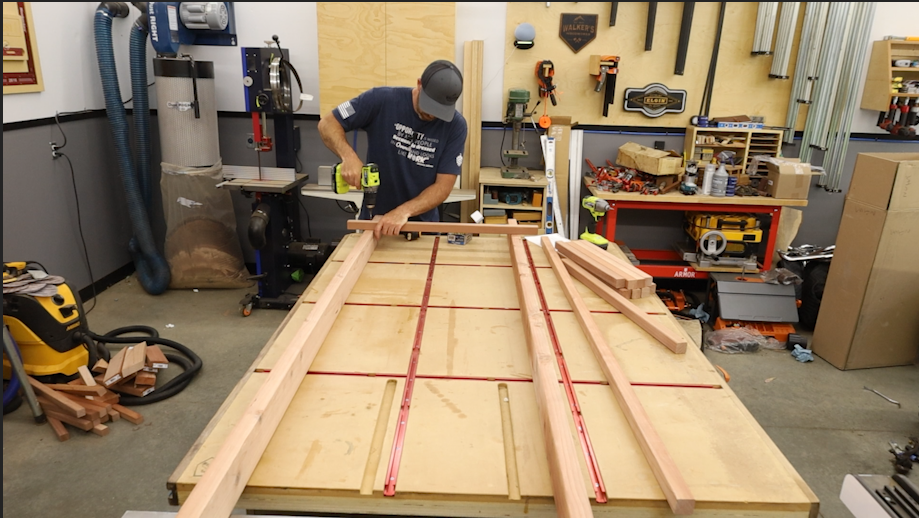

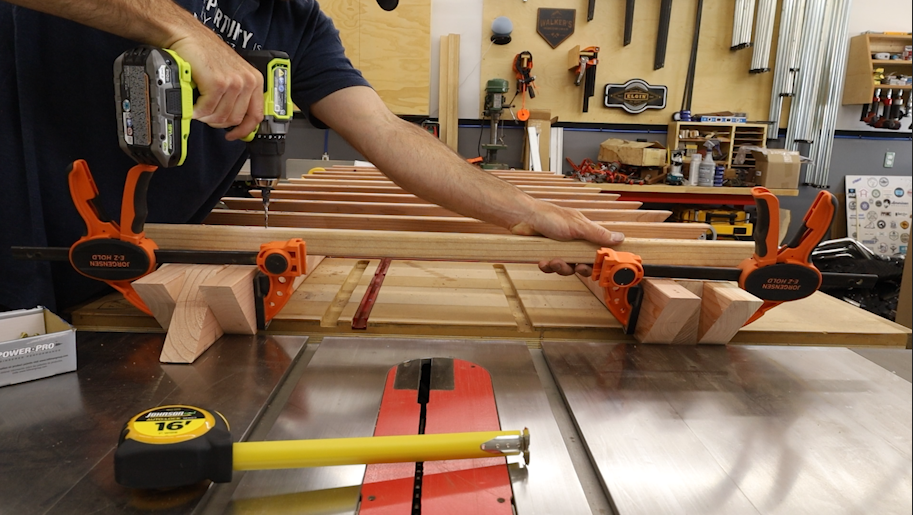
Once the frame was together I added all the staggered horizontal pieces to the side evenly spacing them out.
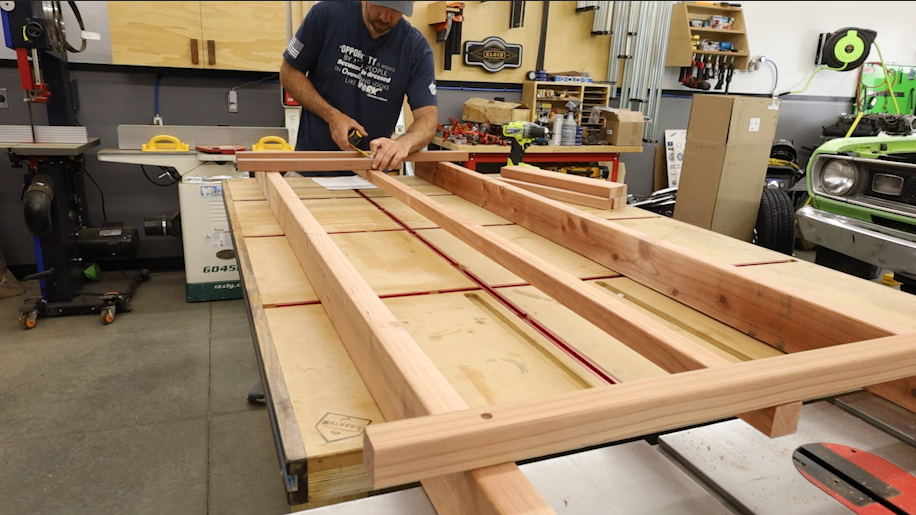

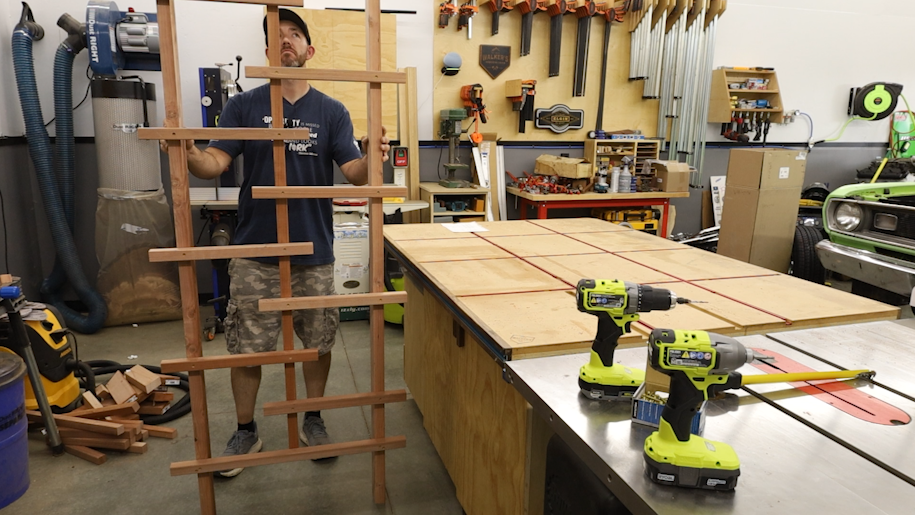
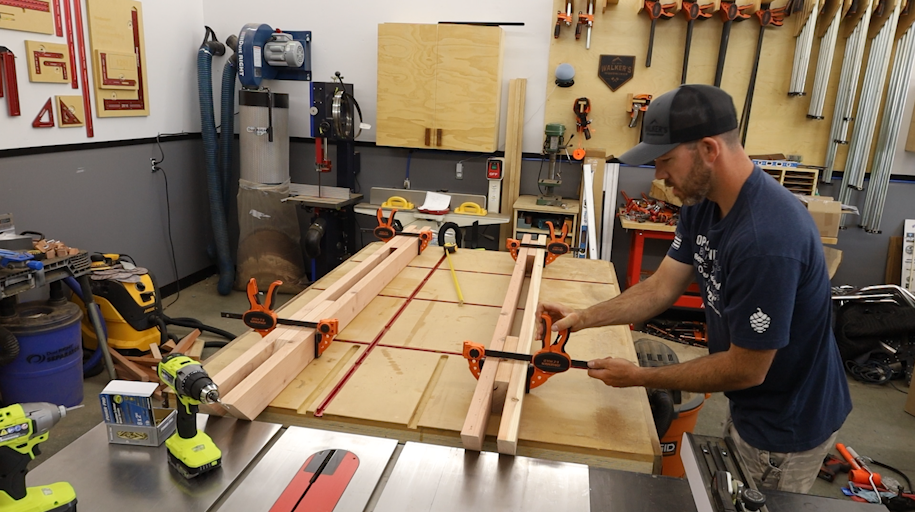
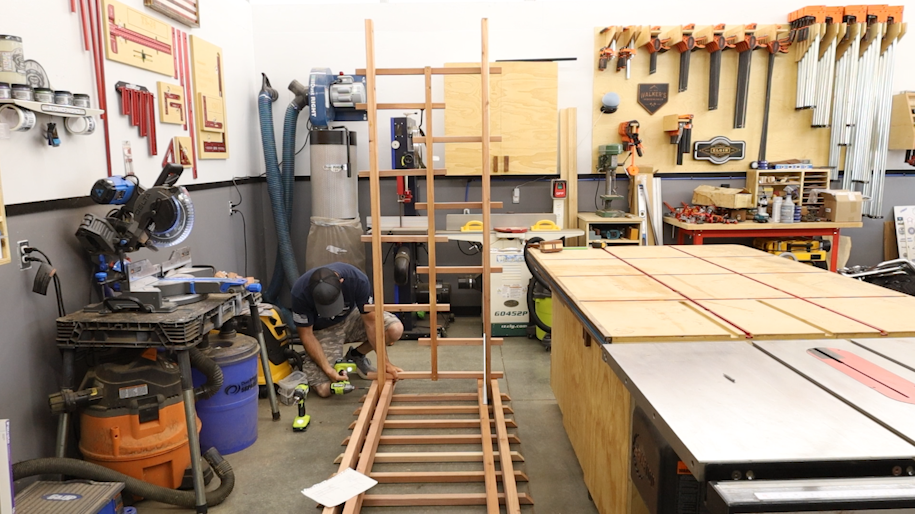
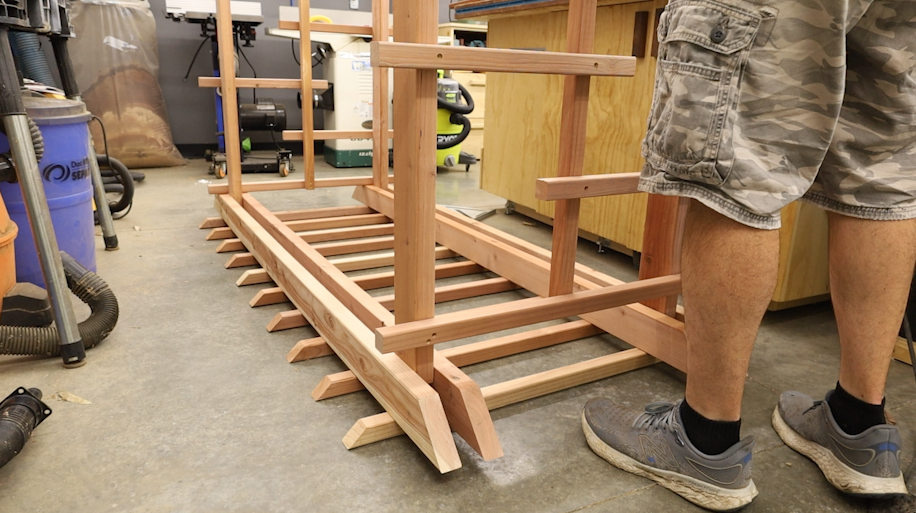
I did the same process to the other side. Then I used some cut offs from the legs and clamped them between the 4 top pieces that would connect the two sides to get proper spacing for the legs to slide into. From the center I started attaching the pieces I was talking about that I found near the stairs in the store that were already cut at a 45 degree on both ends.

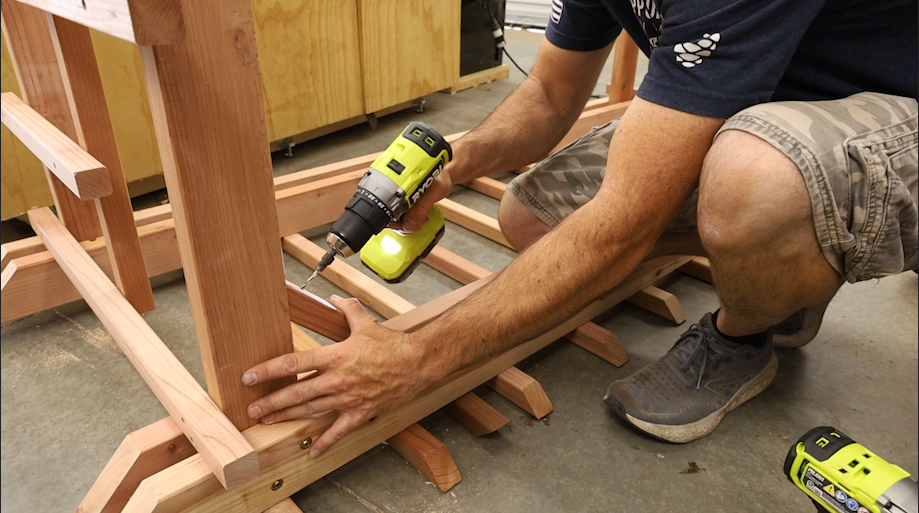
Once the top was assembled I flipped it over and inserted the legs upside down on the floor. I secured the legs to the top with 2 diagonally placed 4” lag screws per leg while using a speed square to make sure it was all squared up before attaching everything.

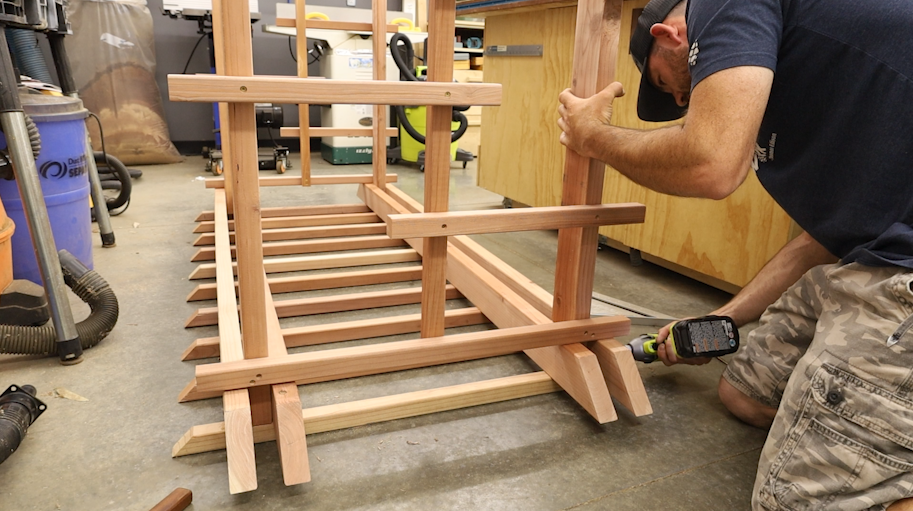

While it was still upside down I also attached the bracing that connects to the leg and top.

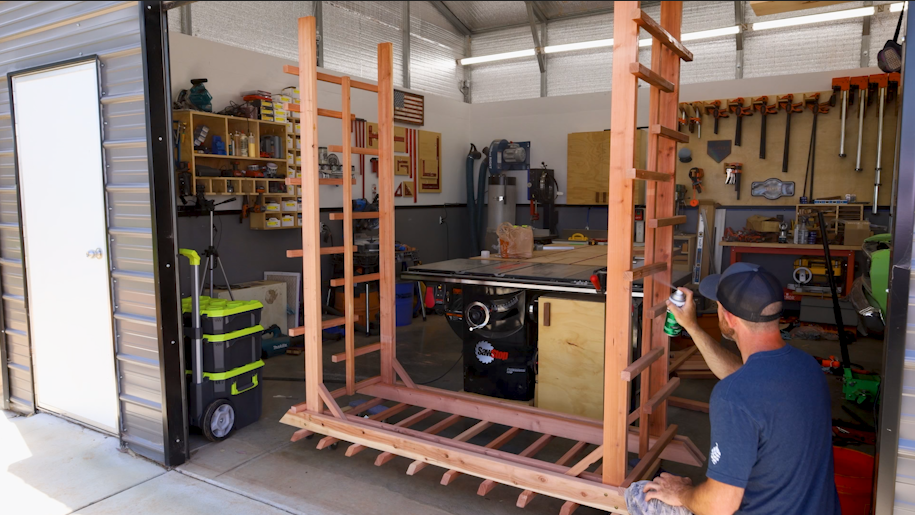
It was kind of a challenge to get it moved but using furniture dollies I did get it positioned where I could finish it with some exterior rated spray on Spar urethane. I put 3 coats on it. That should hopefully help it withstand the harsh summer sun here.

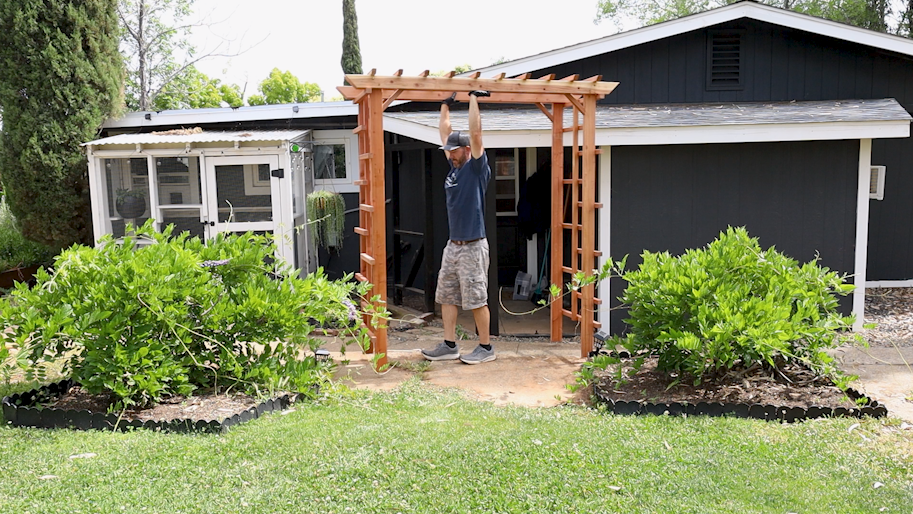
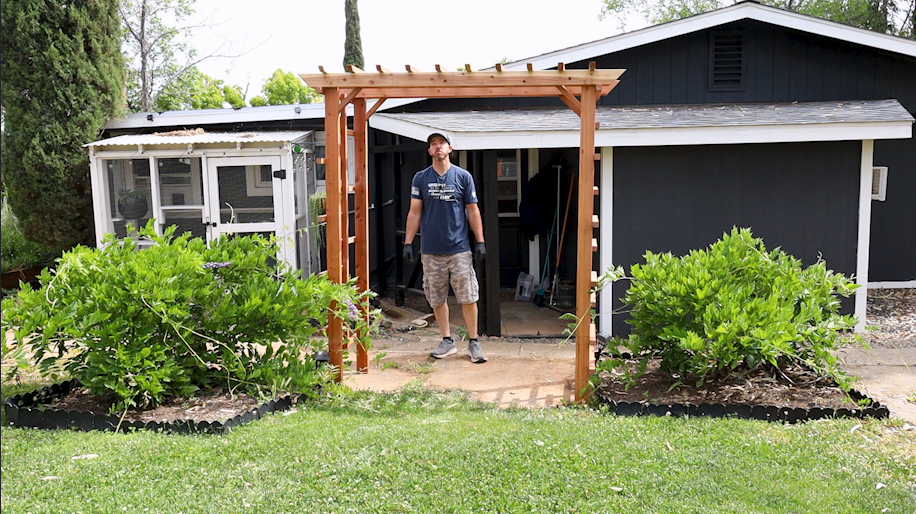
Once it was pretty much dry I carried it over and positioned it into place. This was not that easy and took all of my height to do it haha.
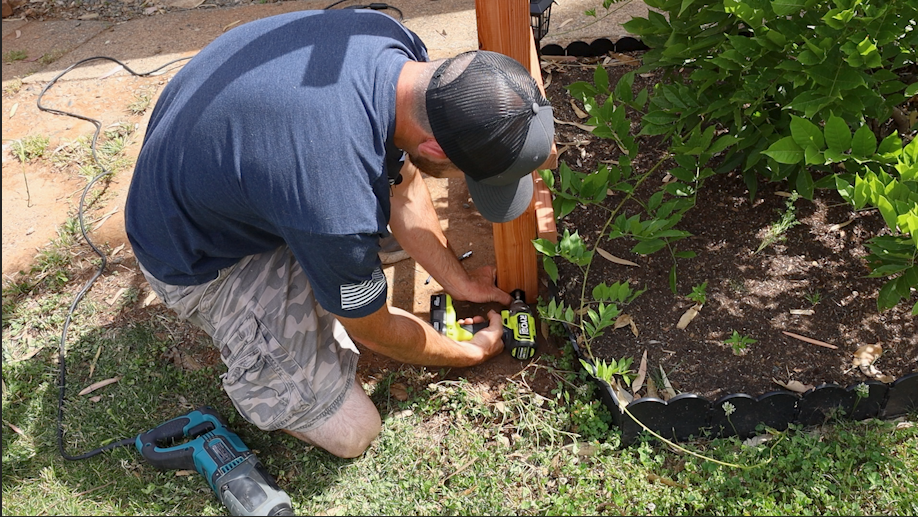
The last thing I needed to do was get it secured to the concrete. I did this using a hammer drill I rented and some screw type anchors. I got some 90 degree black braces that I also secured to the legs and used two per leg.

I grabbed the branches that were long enough to reach the arbor and wrapped them around it. Once the bush gets “trained” to go to the arbor it will grow up, over and hang down with some awesome purple flowers.

Really hope you guys enjoyed this one. It was fun to build and I can’t wait to se the progress of the Wisteria growing on it. Follow me over on Instagram @walkers_woodworks to see the progress over time. I will post pics of it every now and then.
Thanks again to The Home Depot for sponsoring this build and thank you all for the continued support! Don’t forget to watch the YouTube Video for even more detailed instructions. We will see you on the next build.

