
DIY T-Track Tapering Jig
I needed a tapering jig so I teamed up with Rockler and they sent me the hardware so I could make a DIY version and share it with you guys! It costs about half of what the one Rockler offers costs and it works great! These jigs are awesome to have around the shop to do tapered legs and really any angle that's to steep to do with a miter gauge. Lets get to building!
Be sure to check out the video above for an even better visualization!
Jig Measurements
Body - 30" x 12" taper adjustment rail - 3 1/2" x 28"
Items you will need for this jig (affiliate links included)
Other tools used in this video
To start this project off I got everything unpacked and laid out. All the hardware I used for this jig was supplied by Rockler. I got their universal hold down kit which includes 4 ft of t track, two hold down clamps, two 3" t bolts, two 5 star knobs and two washers. I also got two more 3" T bolts, two more 5 star knobs as well as two big fender washers.


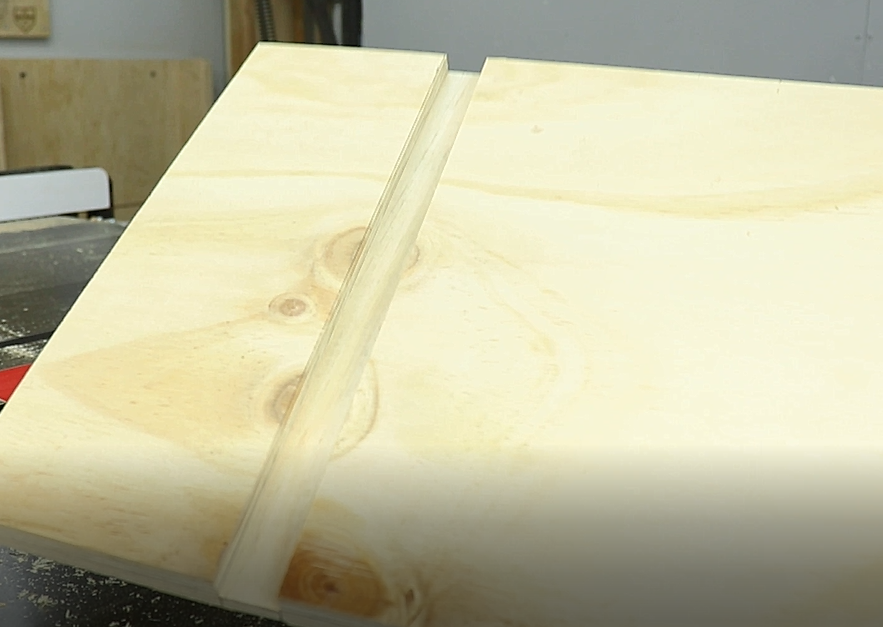
The wood portion of the jig just consists of two pieces of 3/4" plywood. One cut at 30" x 12" and one cut at 28" x 3 1/2". I went through my plywood scrap pile and had a couple pieces that would work so cut them down to size. If you don't have a cross cut sled you can use your miter gauge or a circular saw to cut this piece to length. OR If you have a sliding miter saw that would also work!


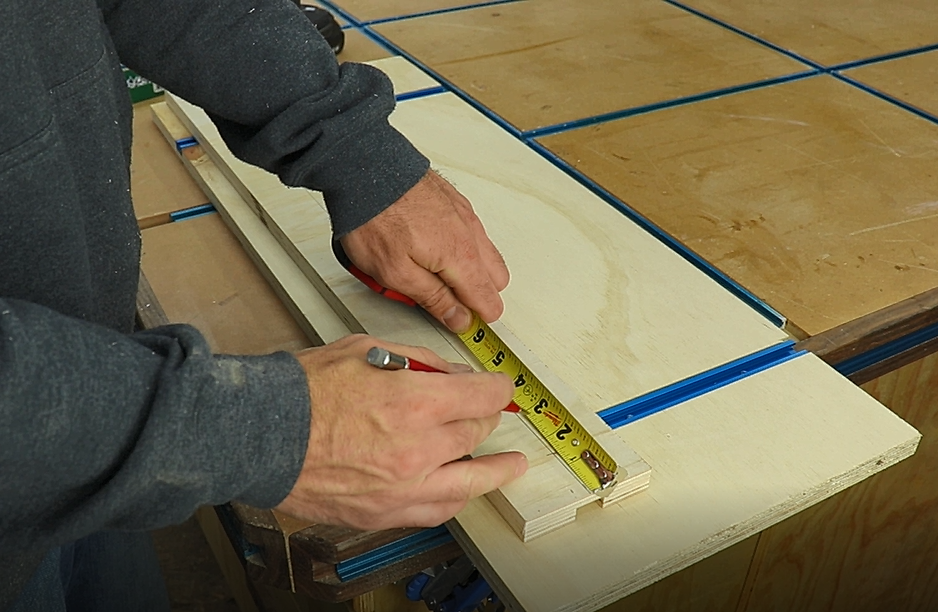
What I am doing here is measuring for the dados I will cut for the T track.

I measured in from the outside 4" and drew a line on both sides. Then I laid out the T track on the inside of the drawn lines and drew a line on the other side of the track so I knew where to cut the dado.

I set up my miter gauge with a fresh sacrificial fence and made a cut through it.

Then I set my blade to just a hair higher than the t track depth which is 3/8"

I used a square to continue my marks on the edge of the board so I could see where to start and stop my dado cuts.

If you have a dado stack now would be a good time to use it. But if you don't, I will show you how to use a standard blade to make these cuts.

Make your first cut on the inside of each line then make blade width cuts moving the board each time to clear out the material between the lines and you're left with a perfect dado cut without a dado stack.

Next I needed to make a Dado cut on top of the Taper adjustment rail to accept the t track. I found the center of the board and marked out where I wanted it to lay.

The T track is 3/4" wide. I again used the track itself to mark the cut lines making sure to transfer those to the edge.


Once that was finished I headed to the miter saw to cut the T track down to size.
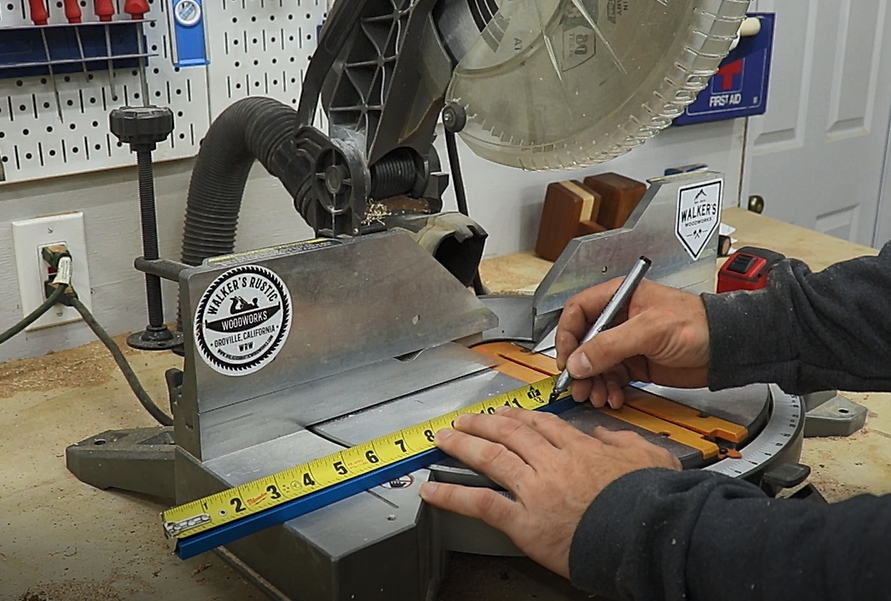
You will need two pieces at 11 7/8" and one piece at 17"

When laying the T Track make sure to center it so it doesn't sit flush with the edge of the board on either side. This will prevent it from hitting your table saw blade. I used coarse 3/4" screws to install the T track then flipped the board over. using a flap wheel on a angle grinder I sanded them down to just below the surface of the wood so they wont touch the table saw bed.

The reason I used these screws is strength. When you go to shorter screws they get a lot smaller around and I feel like this is a better option.

Then I needed to create slots in the tapering adjustment rail for the other set of T bolts to pass through. I found the center of the board and drew a line with my straight edge from end to end

After that I measured in an inch and a half on each side and made a mark on the center line. Then made another mark 4 more inches in.
I used a 3/8" bit to drill holes on both my marks on each end of the board.

Then using a ruler I drew lines to connect the holes

I cleared out the remaining material with my jigsaw.

I then installed the T track the same way as I did on the main body making sure to flip it over and grind off the exposed screws.


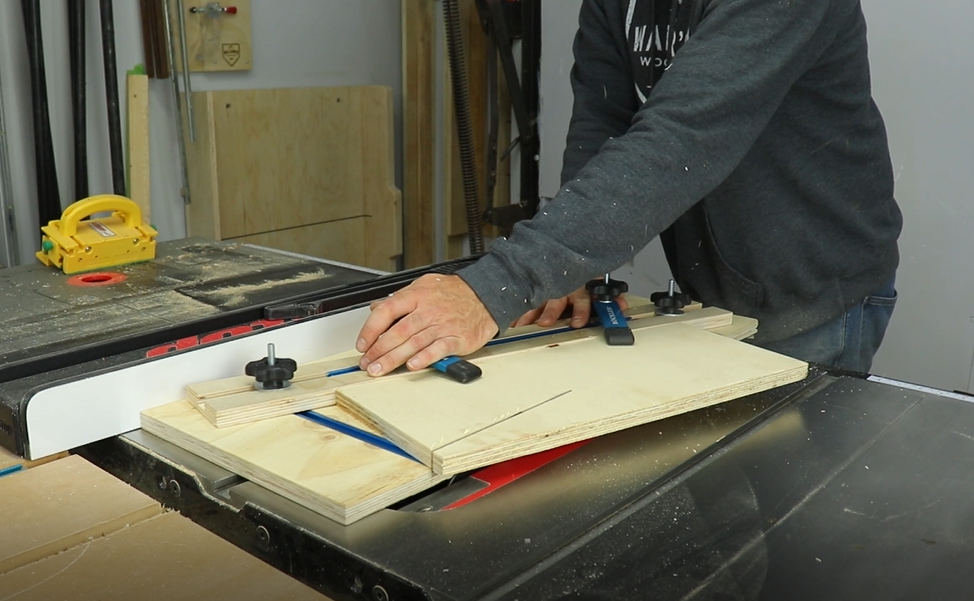
Then it's finally time for assembly you could put a miter bar on the jig but I just run it up against my fence set at 12" works great.


I tried it out on a few scraps and it works great! I have since used this jig in the shop quite a bit and its its awesome to have around.


I drilled a couple holes to hang it on the wall to keep it out of the way but also readily available.

Thanks so much for following the project! I hope its helpful to you and you can make one yourself to use in the shop. Don't forget to watch the build video for a more visual experience. I will see you guys on the next build!