
How to Make a Desk Top or Table Top
I've gotten a lot of requests to make a video and instructions on how I put together my desk and table tops. This is that! Hope its informational and helpful for you guys. As always thank you for your support!
Check out the video above for an even better visualization of the build!
Tools and materials used in this video (affiliate links included)
Other things I use on a regular basis - Shop Tools
The client for this build wanted Maple, so I went and picked out some nice 8 quarter stock. This will be a desktop but the same process can be used for a table as well.

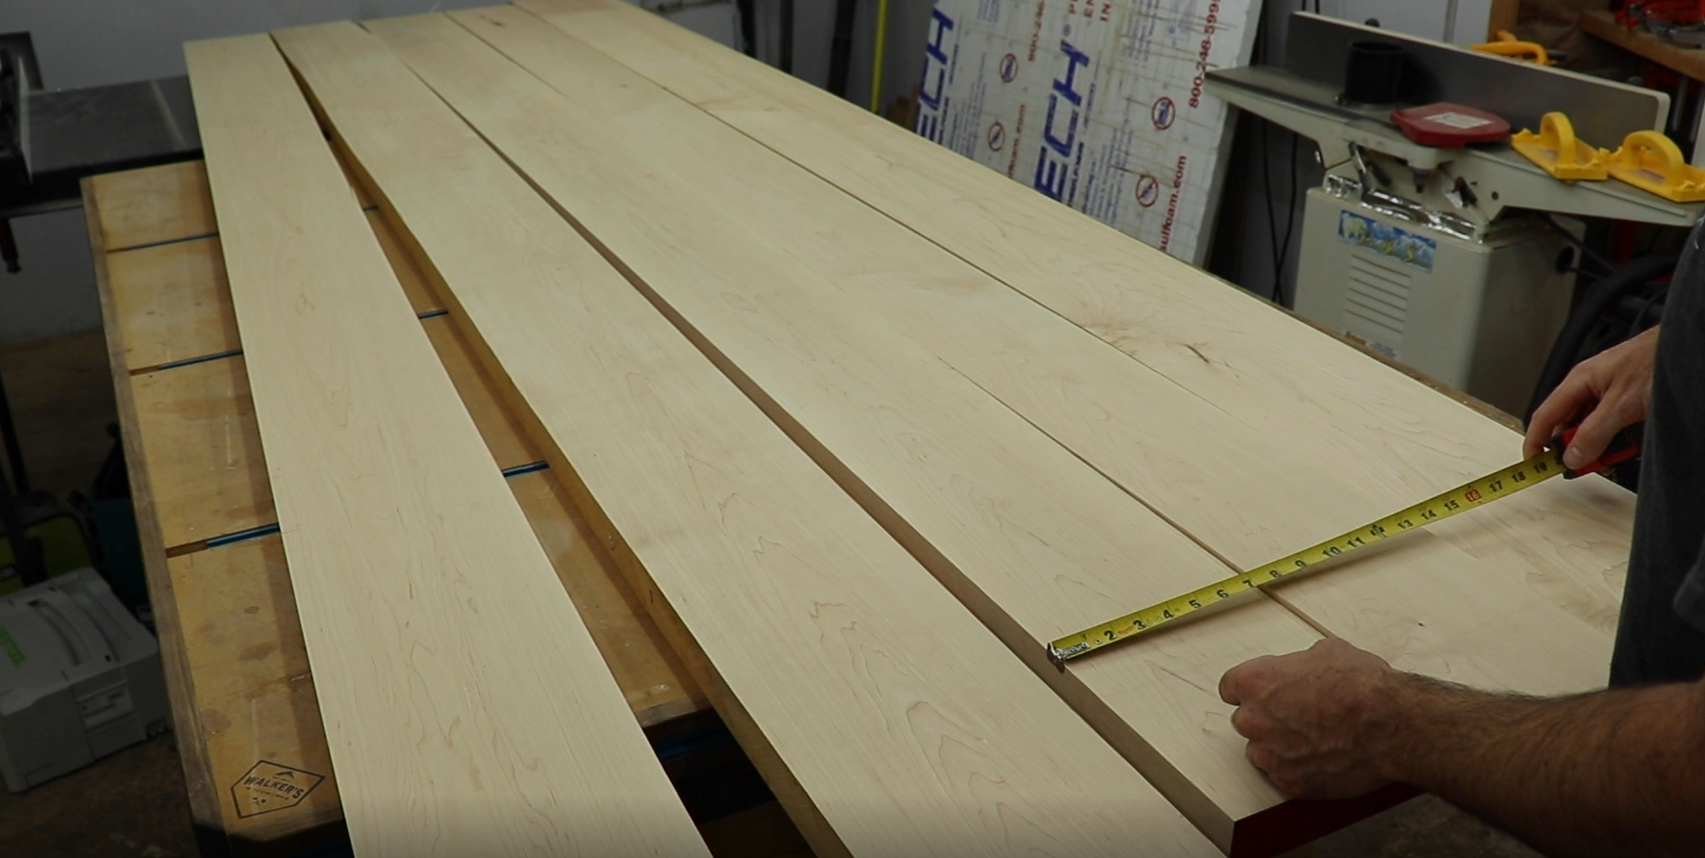
The width of this desktop will be 32 inches so each board will be ripped at just
under 6 and a half inches to make it look symmetrical. I buy most of my lumber surfaced on 3 sides or what they call S3S. With S3S lumber you really only have to trim one edge to get your final size since the other 3 are already surfaced.

Once its all ripped to final width I lay out the boards and make sure the grain pattern on the ends is rotated on each board, this helps combat twisting or warping.

After I have all my boards laid out how I want them I label them so I know how they go back together.

I put my tops together with biscuits, they help keep all the boards aligned during glue up. You can also use dowels or dominoes if you want to get real fancy. Here I am just marking for them. I usually put one in about 4" from what the final end will be and then around every 10-12 inches. I use a t square to mark all the way across for a reference line when its time to cut the slots.

I always use number 20 biscuits and just try to get them in the center of your material. They make expensive biscuit jointers but this Ryobi has worked great for me for years. You want to cut slots on the inside of the outer boards and on both sides of each inner board. Make sure you always reference off the top.

Once I had all the slots cut I laid the boards back out in order on the clamps and got them all lined up. Starting at one edge I stood each board up to expose the edge and biscuit slots where my glue will go. Leave the last one laying down though. It doesn't need glue.

I have been experimenting with this roller attachment on a glue bottle from Rockler, It seems to work really well and spreads the glue out evenly. I left a link to it and all the other tools I use in the beginning of this build below for you guys to check out.

I like to use quite a bit of glue on my joints and I only put glue on one side. I prefer Titebond 3 because its extremely strong and has a long working time. I put a little extra glue in all the slots and then go back over them with a brush to make sure they are covered.

Here is where it can get messy, lay each board down and fit them together then lightly tighten the bottom clamps until the piece is drawn together but don't tighten them yet! just snug them up a little. Use more clamps on top between the bottom ones to distribute even pressure. Once you have them on, tighten everything down a little at a time alternating from top to bottom making sure it stays flat as you go.


I allow the glue to cure for about 10 minutes and go back scraping off any excess I can with an old chisel. This saves a ton of time scraping glue later.

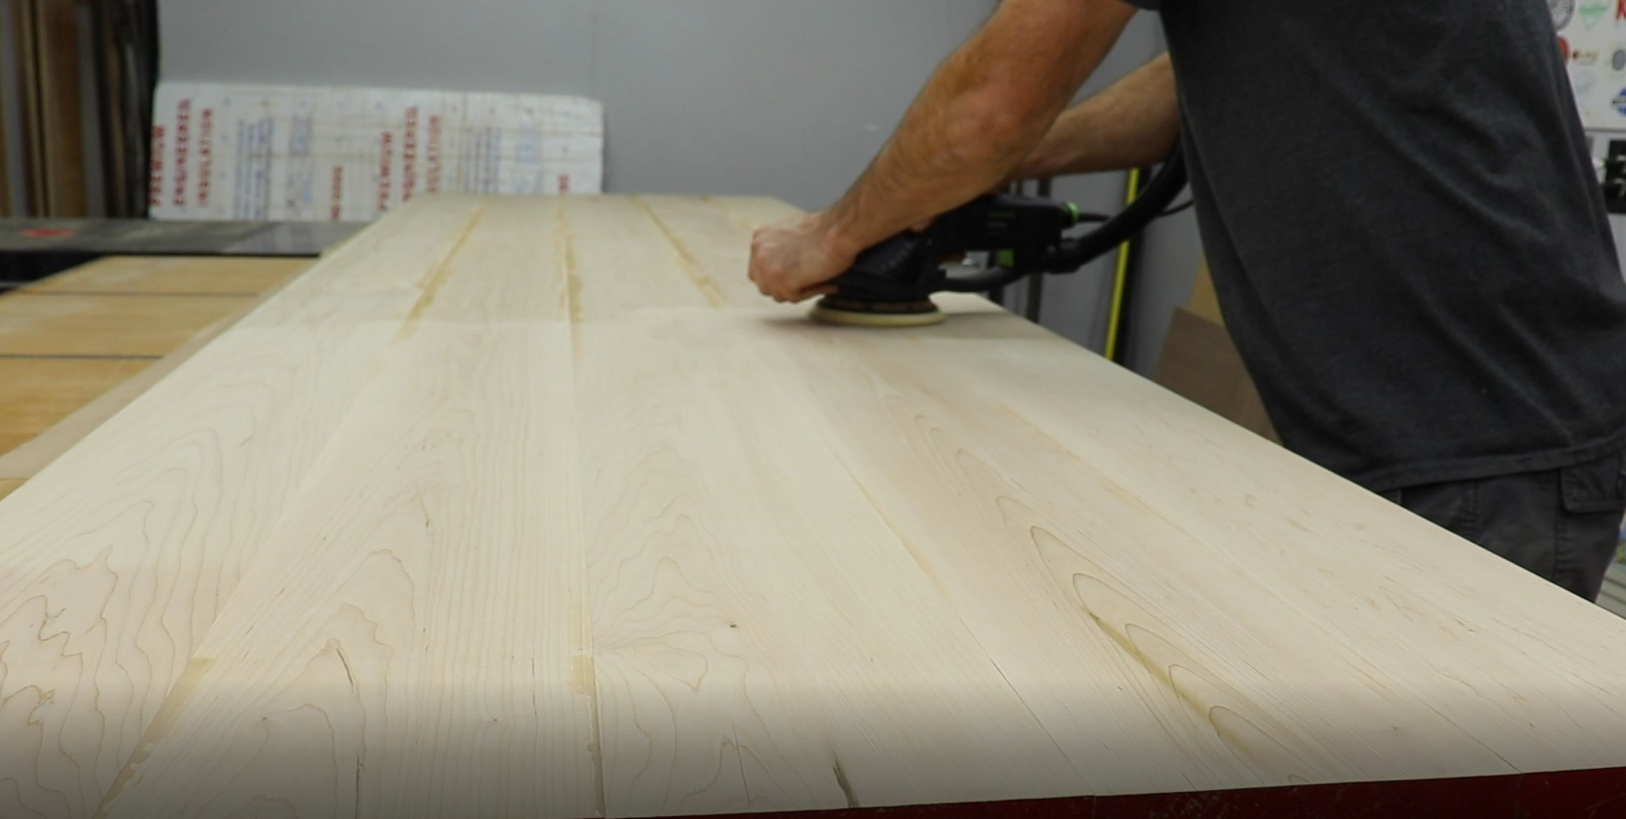
After 24 hours I came back and took it out of the clamps. This is kind of a challenge with one person and large tops. The last top I did was 10 ft long and 44 inches wide. That one sent me to the chiropractor. So this is how I flatten my tops. I used to use a belt sander which works fine but the Rotex works much better. I start out with 60 grit to get everything flat on both sides. Then move to 80 grit with the Rotex.

If its a long top like this one I like to use C channel in the bottom to help keep it from warping or cupping over time. You can purchase this ready to install at Bidwell Wood Company they also offer the hardware needed. Use the code walker10 for a discount. For this top I used 3 pieces of channel.

I laid them out where I wanted them and marked each one. You want to make sure the holes in the channel are elongated width wise to allow room for wood movement.

I then I use a 1/4 inch bit to cut the slots for the channel to lay in following my marks. I do this in several shallow passes.

I also cut 1/8 inch out of the center to allow the channel to be flush with the bottom of the top using a big flattening bit and a chisel to clean up the ends.

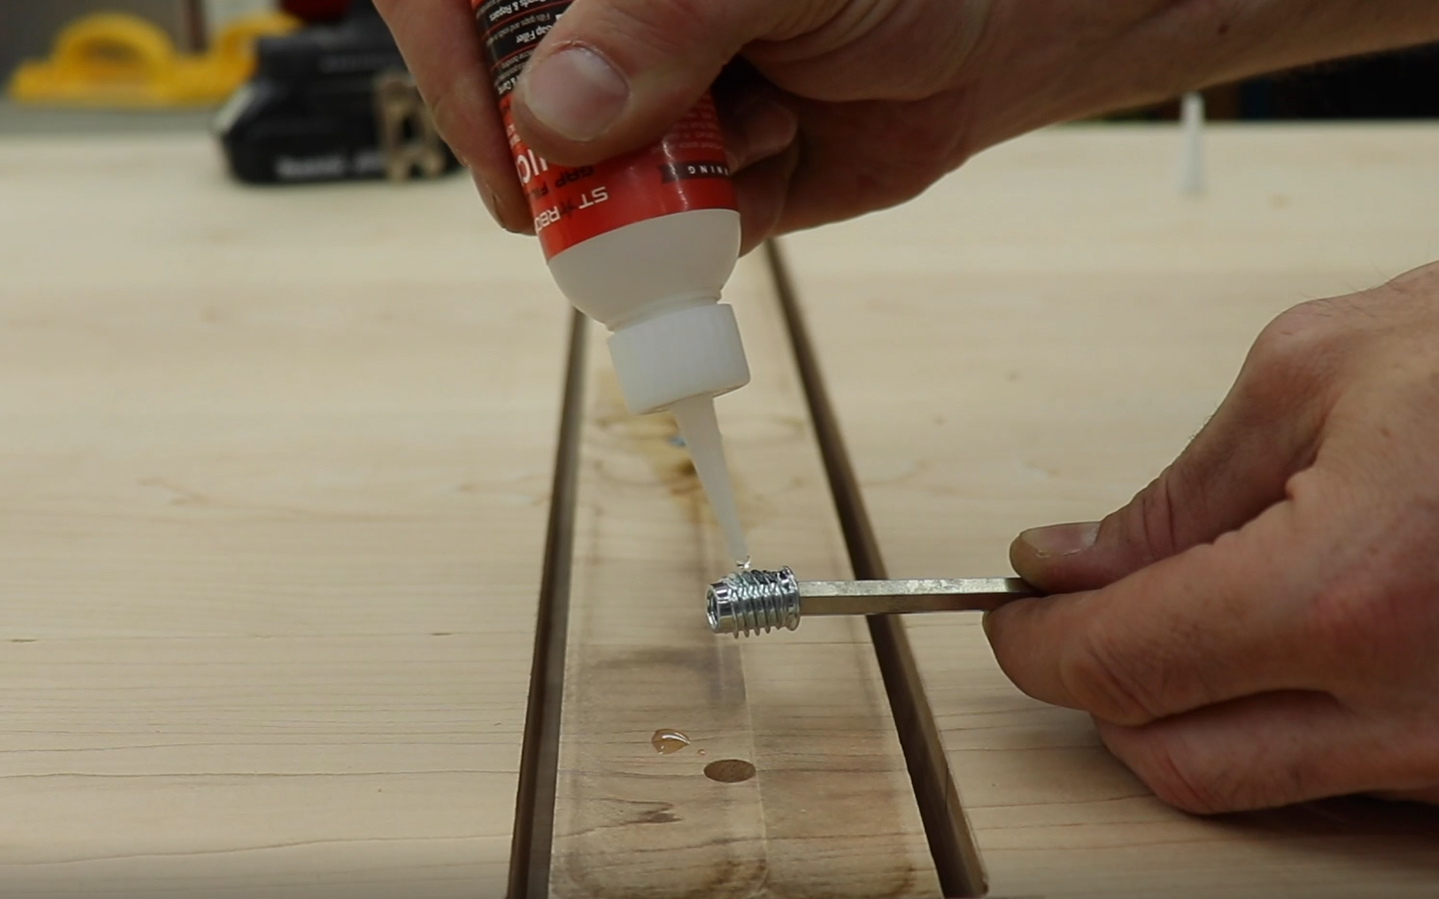
After that I install inserts that will accept flat head machined thread allen bolts.I really like these ones made by Rampa. They are the best ones I have used.

I like to use some CA glue when I install them just to make sure they don't back out. Even though I am pretty sure they wouldn't. Once they are all installed I lay in the channel and test fit all the bolts.

One thing I should have mentioned before is I always leave about an extra 2" on all my boards so I can come back and square up the ends after glue up. I use my track saw for this but you can use a straight edge and circular saw as well.
I made a few passes on this because maple is really hard. Doing this makes it easier on the saw and blade.

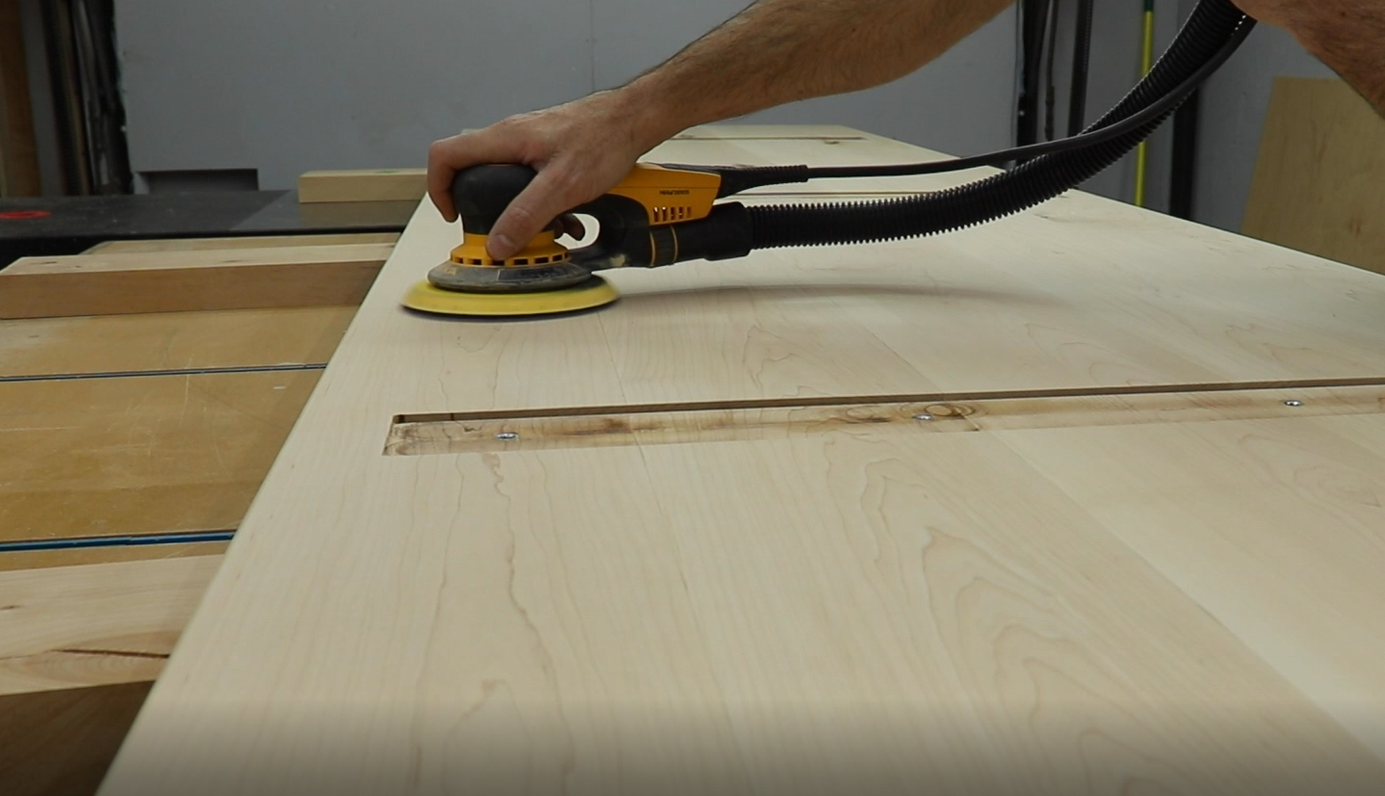
I removed the channel and went to my finish sander. I started with 120 grit and made my way up to 220.

Using a round over bit I put a nice soft edge on the top.

This is what people call water popping or raising the grain. Because I will be using a water based finish on this it would bring the fibers of the wood up and make it feel rough. Using water and then re sanding to 220 keeps this from happening.

I blew the top off with air and then wiped it down clean. As I said I used a water based polyurethane on this top. It will not yellow like oil base does and keeps the maple looking really natural. I like to apply thin even coats using a foam brush sanding with scotch brite between coats.

I applied 3 coats to the bottom side sanding between coats and let it cure before flipping it to do the top. I reinstalled the Channel and flipped the top

I did the same process to the top side but I applied 4 coats sanding with a scotch brite pad between coats.


Well that's about it. I really want to thank you guys for following along and supporting me doing what I love. Really hope it was helpful.
Thanks again! See you on the next build.
-Brandon
