Tiered Planter Boxes 3 ways!

IMG_3988.PNG


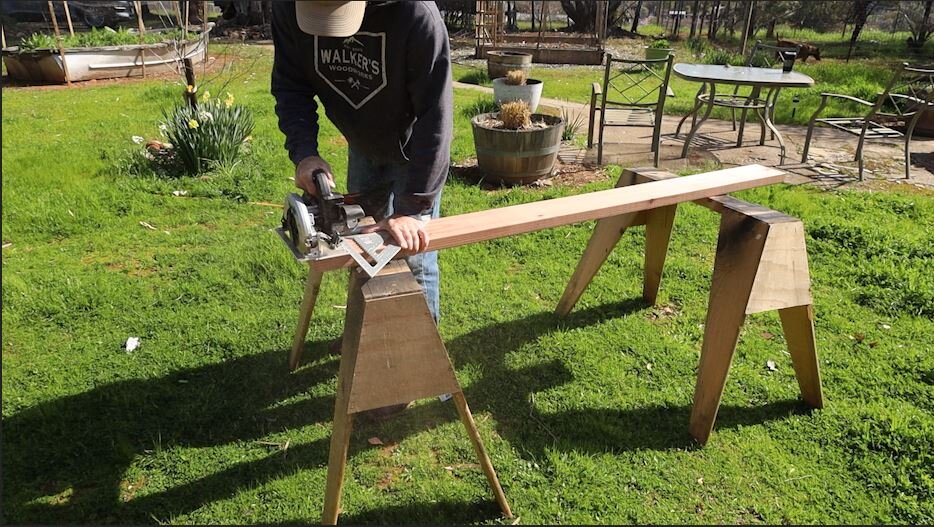
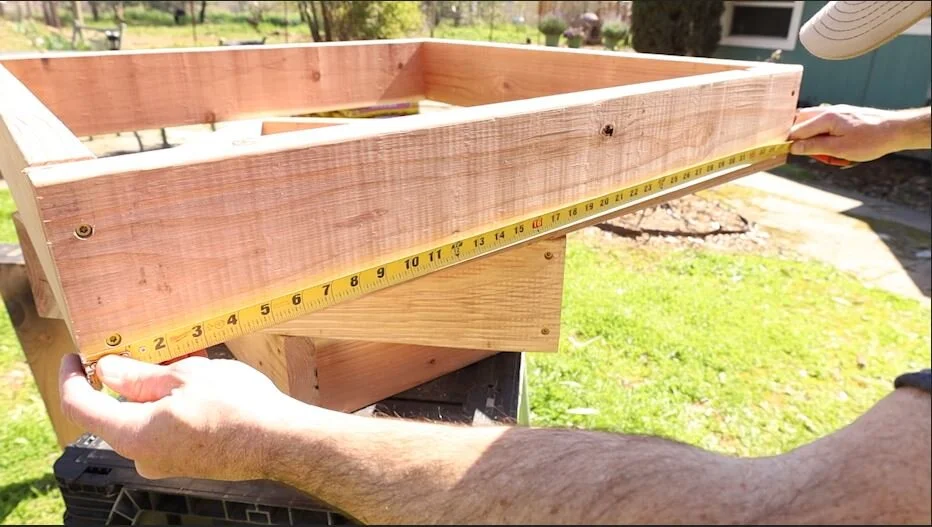
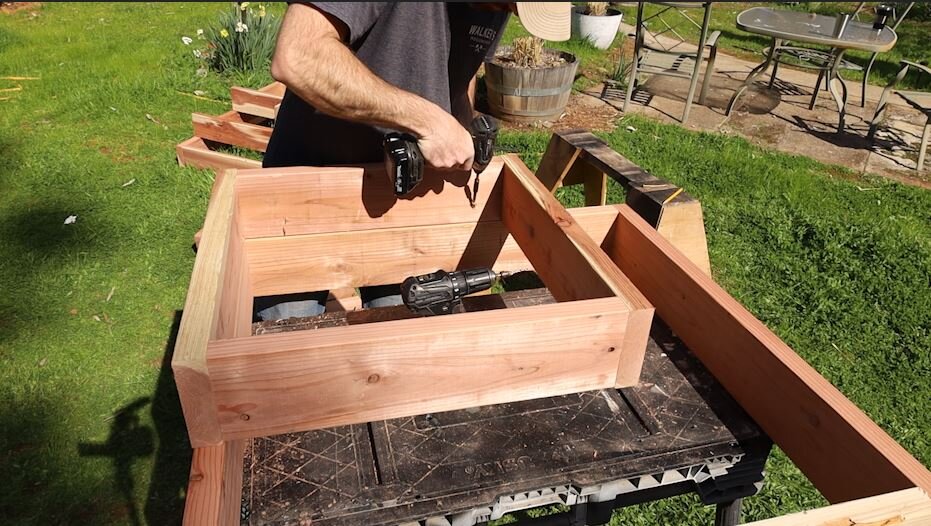
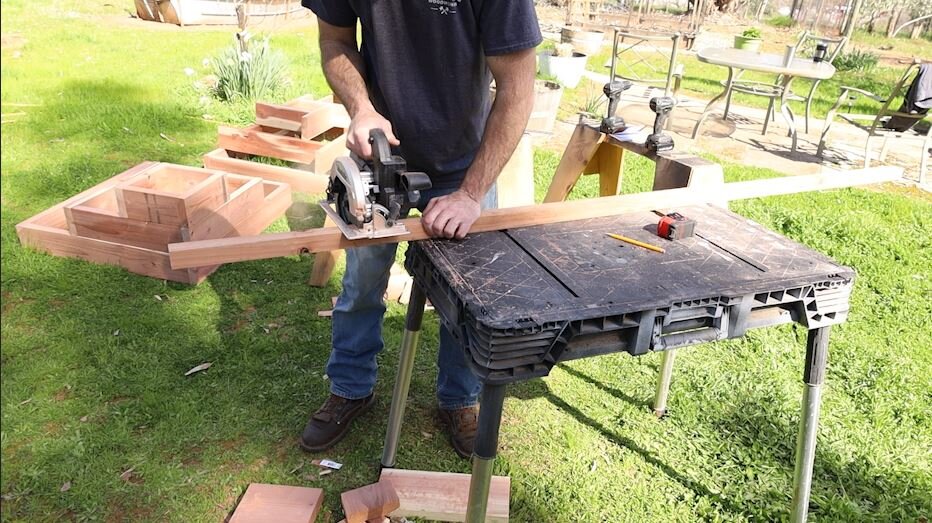
So my mom has lived on the property with us for a few months now and she LOVES flowers. Our yard needed some love anyway so I decided it would be a great opportunity to build some cool planter boxes for her to plant some flowers in and spruce up the landscape! Here is how I did it! Be sure to check out the video for a better visual :)


Tools used in this build. (Affiliate links included)

Drill bit with counter sink

Makita Circular Saw

12" Speed Square

Makita Drill and Driver

Pony Jorgensen E-Z Hold Clamps

Check out the rest of the tools I use in my shop HERE!


I went to my local big box store and picked up 15 6ft redwood 2x6's as well as 15 bags of potting soil. Which turns out is to much for this project. I really only needed about 9.

wood.jpg
soil.jpg

With each board I start off trimming the end using my 12" carpenter square and my circular saw just to make sure its square. I used redwood for all these planter boxes because it is less prone to rotting in the outdoor elements.

1.JPG

I decided to cut all the boards for the bottoms of all three plater boxes at the same time because they all use the same measurements and it was easier to batch them out.

2 boards @ 36” and 2 @ 33” If you’re building a long

2.JPG
3.JPG

Once I had one set cut it was easier to set the boards on top of each other and mark where I wanted to cut them rather than measuring each time.

4.JPG

Once I had all the wood cut for all 3 bottoms I move onto cutting the rest of the boards to build the first planter. This one will be 3 squares stacked on each other the squares get smaller and rotate 90 degrees with each step upward.

6.JPG

The boards for the second level were all 24” long. They are assembled differently than the bottom tier though! Keep that in mind.

I went ahead and cut the 4 boards for the top level as well that measure out at 17” as well.

8.JPG
9.JPG

Power pro was nice enough to sponsor this build. I have used their screws for quite a while and I love them. They drive really nice and don't strip out. When doing outdoor projects its very important to use exterior rated screws.

Check out their full line of products here - POWER PRO

10.JPG

Once I had all the boards cut for the first one I could start assembling.

I pre drilled all the holes with a bit that had a built in counter sink. It worked really well! Check for it in the links at the top of the page!

Sometimes when driving in screws without the wood being clamped you will notice it wants to push apart. A lot of times if you back the screw out and drive it back in that will close up the gap.

On the bottom tiers of these planters there are two different size boards so you want to make sure the shorter boards are running between the longer pieces to make a square.

11.JPG

Once the bottom tier was done I moved onto the second tier using the same method. Except this time all 4 boards are the same size so after the butt joint I spun the piece and attached the next one butted up to the end of the previous board and continued doing that until I got back to the first board. Kind of hard to explain but you can see what I mean in the pics.

12.JPG
13.JPG

I repeated that same process on the top tier.

14.JPG

When assembling the planters I did it upside down. So I started with the small tier then placed the second tier turned 90 degrees from the first. Then attached it by drilling steep holes and driving screws. This is also called toe nailing. If it was a nail... Just make sure its angled enough so the screw doesn't poke out the side.

15.JPG
16.JPG

I did the same thing to the bottom tier measuring and making sure it was centered.

17.JPG
18.JPG

That’s one down, two to go!

19.JPG

I cut the boards for the top two tiers of the second planter which consisted of 4 boards at 28” for the second tier and 4 boards at 15” for the top tier.

20.JPG
21.JPG

The assembly for the bottom is the same as the first planter.

22.JPG
23.JPG

The second tier is where it changes a little bit. I measure in 6" from the end of one of the boards and draw a line. Then I butted another board up to that line and attached it.

24.JPG
25.JPG

Then I rotated them 90 degrees and repeated the same process continuing around until it was completed.

26.JPG
27.JPG

The same process is done on the top tier.

28.JPG

Again attaching them the same as the first planter upside down.

29.JPG
30.JPG
31.JPG

Ok last one! This one is probably the easier of the three. The boxes are all assembled the same way with two long boards and two short. Then stacked and attached with the same angled screw method. However, This one is assembled right side up.

Second tier board sizes = 2 boards @ 21-1/2” and 2 boards @ 24-1/2”

Top tier board sizes = 2 boards @ 13” and 2 boards @ 10”

32.JPG
33.JPG
35.JPG

This one will need a little support so I used some 2x2 pieces of redwood and attached them in the corners that were hanging out by themselves in the middle.

2x2 Board sizes 1 @ 9” and 1 @ 14-1/2”

37.JPG
38.JPG
40.JPG

Once they were all built I placed them around the yard and filled them with soil. If you would like you could attach some weed blocking mesh to the bottom side of your planter. That will help keep the weeds down. If you’re planting vegetables in the you might also consider hardware cloth to keep gophers out.

41.JPG
42.JPG

Turns out each planter only needed 3 bags of soil, not 5 so I ended up with quite a bit extra.

43.JPG
44.JPG

I watered down the soil once I got it in the planters because it usually sinks down some after its got some water on it and you may need to add more.

45.JPG

I must say working outside is pretty nice compared to being inside the shop all the time. I wanted to get some footage of Mom and I planting flowers in these but she did it while I was at work. Guess you could say she was excited. Probably better this way anyway, she is really good at arranging them to look nice.

46.JPG
47.JPG
48.JPG

Thank you so much for reading through this project! Make sure you check out the video as well and we will see you on the next build!

49.JPG