
Air Tool Station

Tools are a wonderful thing. If you’re like me, they are a lifeline. Having a shop full of tools is essential in the woodworking community. I know it, we all know it. However, one struggle is organization! Where to put all of these tools in the space you have. Well, why not create a space (and sanity) saving solution? That’s what we are going to do here.
Detailed step by step plans available here! - Air Tool Station Plans!
Tools and materials used in this video (Affiliate links included)
Kreg Jig K4 Pocket Hole System
Armor tool upgraded clamp for kreg jig
Kreg Pocket screws for 3/4" material
Mirka Deros Orbital sander and vac
Arrow Fastener Cordless Staple gun
Woodpeckers Precision Woodworking 24" Ruler
Pony Jorgensen E-Z Hold Clamps
Makita A-99998 6-1/2" 60T Track Saw Blade
Deft Interior Clear Wood Finish Gloss Lacquer
YouTube video - HERE
Before we drive in, follow me on Instagram and be sure to check out all of the woodworking plans that can help you with your sanity and your daily life in the shop!
Tools are one of the greatest parts of a woodworking shop. Their uses are limitless and their need is critical. But they are easily tossed to the side, set down somewhere or abandoned at a workstation and considered MIA when you need them most. This Air Tool Storage system is a quick and simple way to solve the mystery of the missing air tools. Let’s get started...
Here is what we will need to do:
Get materials
Draw the shape for each side and pieces (it doesn’t need to be perfect)
Cut out the shapes
Drill pocket holes (maybe add some glue)
Assemble
Hang it up
It’s as simple as that! Well, kind of… Check out the video and plans for full instructions and steps.
Here is how it really went. When I decided to do this I remembered I had some left over ¾ in. plywood that was from another project and figured I might as well use the scrap instead of buying a new one. Since I had that it was easy to get started.
Let’s do this:
Step 1. I used a piece of foam insulation to cut on and I quickly drew out the sides of the panel.

Step 2. Using my track saw I started to cut. I cut out my vision and then traced the other side and made quick work of sawing through it too. I also drew out the rest of the pieces on the panel and cut them out.

Step 3. I cut the front edge of the top two shelves at the appropriate angle to match the sides.

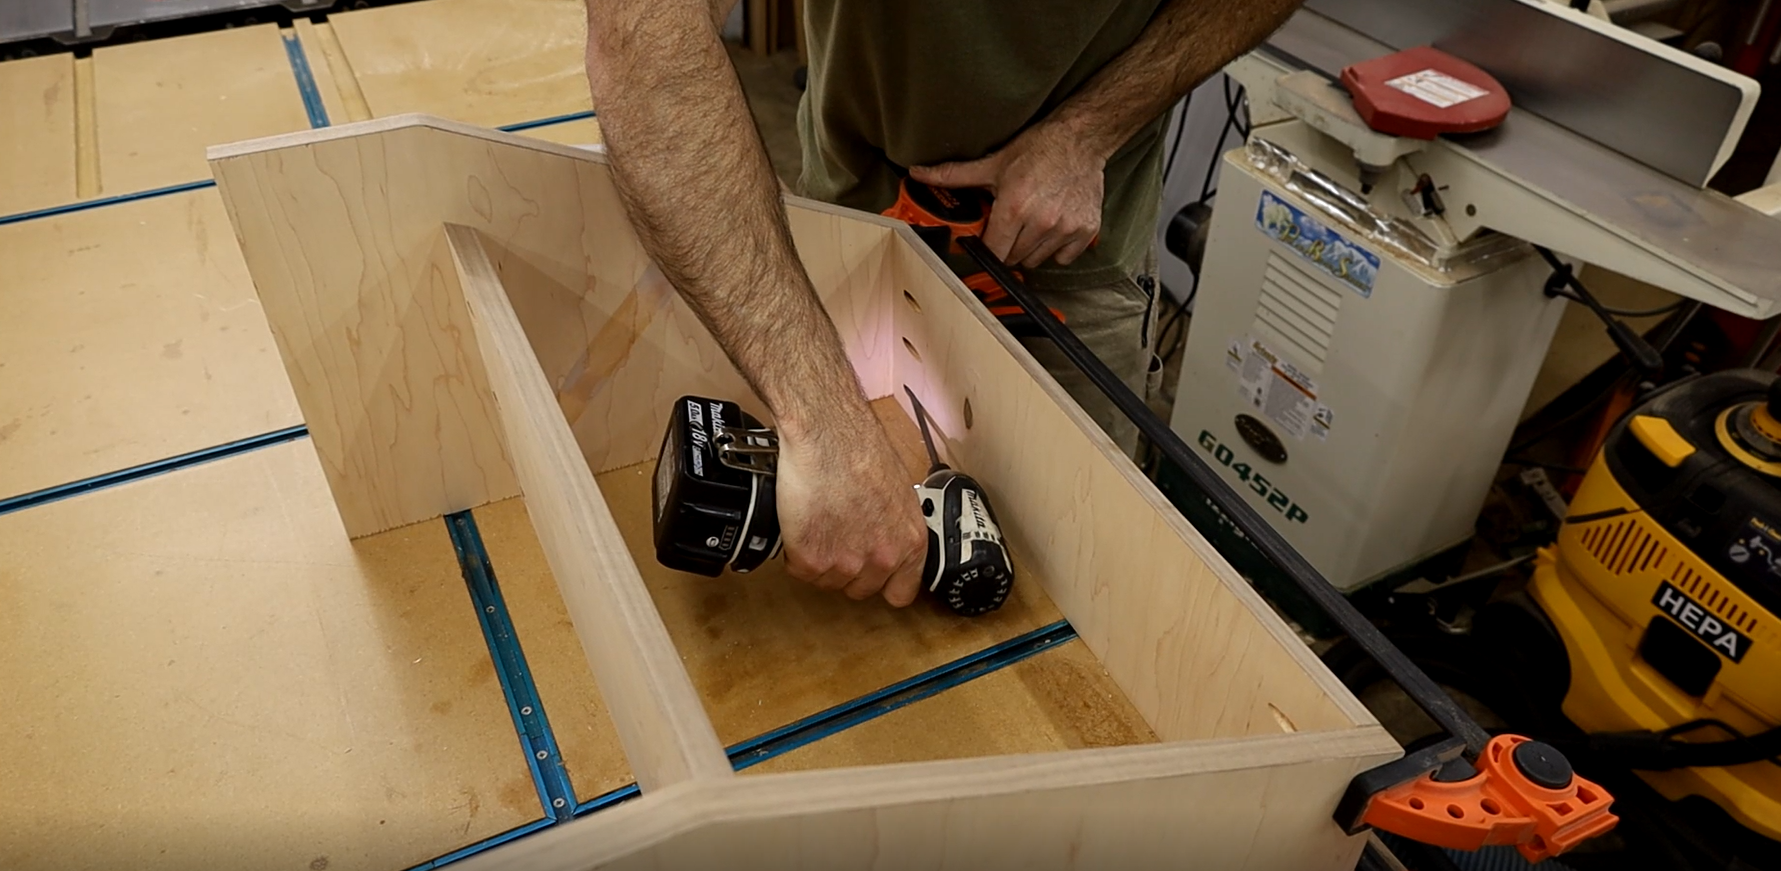
Step 4. Drilling the pocket holes (several for each shelf). I was careful to always drill from the bottom of the shelf to prevent them from being visible.

Step 5. Then I added edge banding. I did make a YouTube video showing how to apply this particular edge banding. You might want to check it out HERE, so you know how to apply it.

Step 7. I assembled using the pocket screws while clamping all pieces so there was perfect alignment. I didn’t use glue, because I just usually don’t for shop furniture, but it wouldn’t hurt to throw some on there.
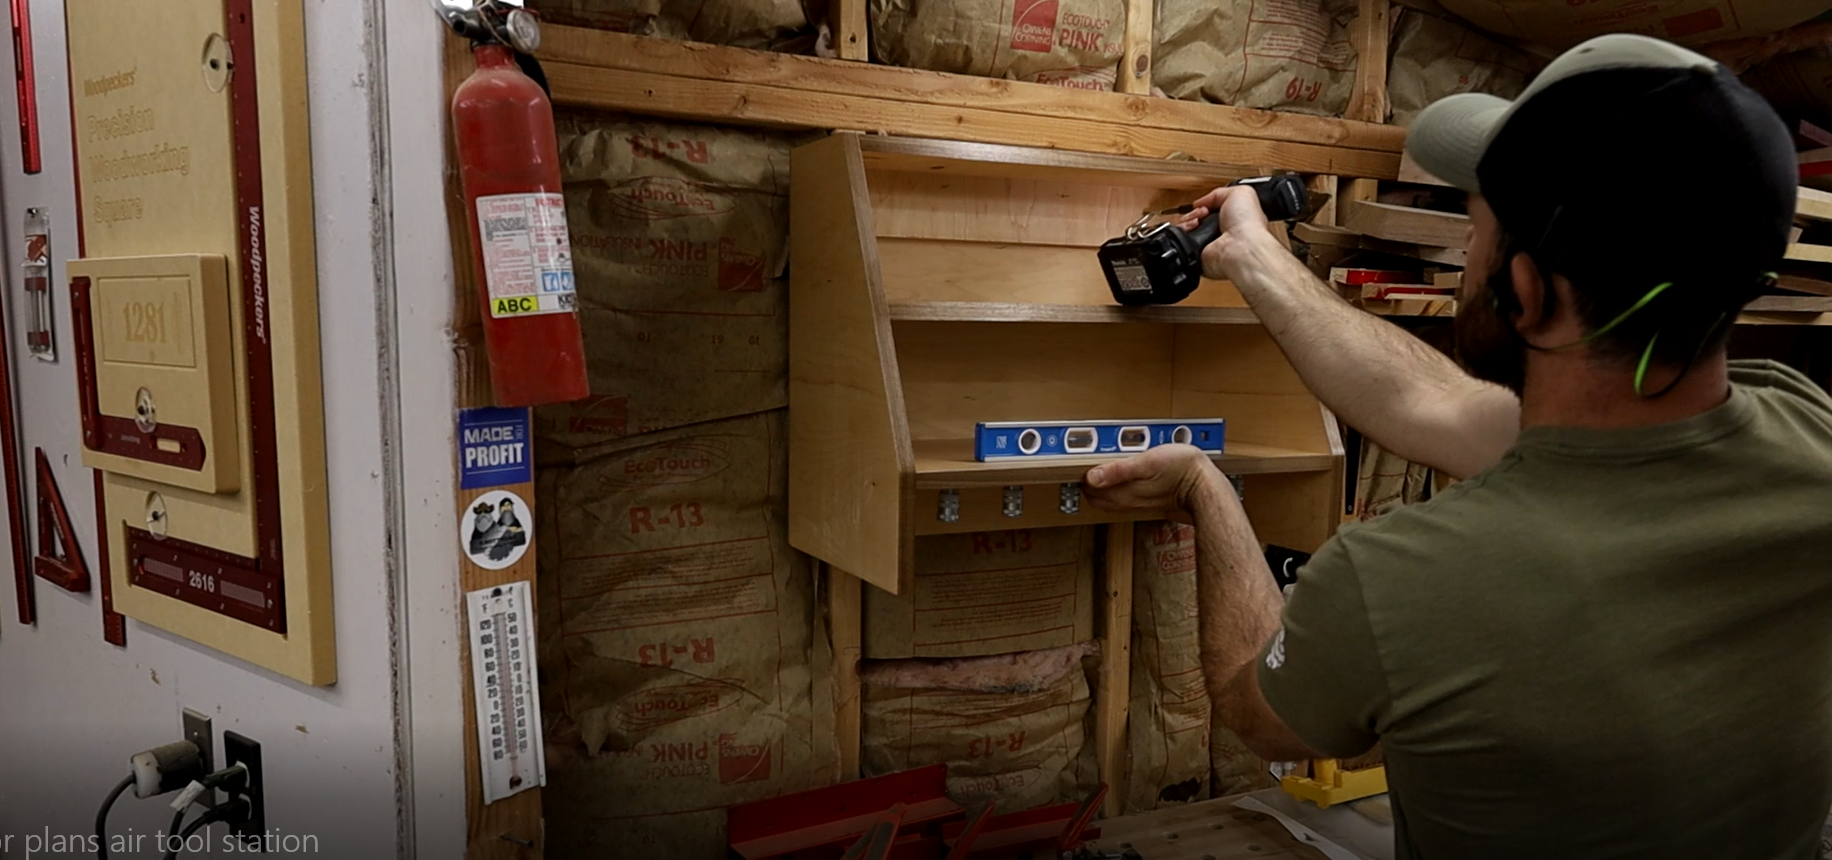
Step 8. I added the air couplers by threading them into the bottom of the shelf.

Step 9. To finish the look, I placed a back on the air tool solutions cubby by cutting ¼ ply to fit.

Step 10. Apply finish, I used a few coats of spray lacquer.

Step 11. Then I hung it up! Making sure to drive screws through the nailer and into studs.
ALL DONE! Thanks so much for checking out this build! If you would like detailed step by step plans for this you can get them HERE Always appreciate the support!
See you on the next build!
