
DIY Mobile Kitchen Cart

My sister asked me to make her something she could store things on in the kitchen such as mixers and what not. It had to be mobile though. She also really likes a rustic Industrial design. So this is what I came up with.
Be sure to watch the video for even more details!
I do have full build plans with measurements and material lists available - HERE
Tools and consumables I used in the build.. (affiliate links included)
I started out by rough cutting the 8/4 stock down to size at the miter saw then ripped the boards to width at the table saw.

Most of the lumber I buy comes in S3S which stands for surfaced on 3 sides. This means it only has one rough edge.

For a rough glue up I typically just trim down the rough edge to get my final width and then I can trim the ends later.

When doing a glue up I always like to lay down some paper so I don't get glue all over my assembly table. You can get this big roll at any home store for fairly cheap.
I had 3 shelves to glue up so I laid out and taped up my clamps to keep them clean. It's much easier than scraping glue later.
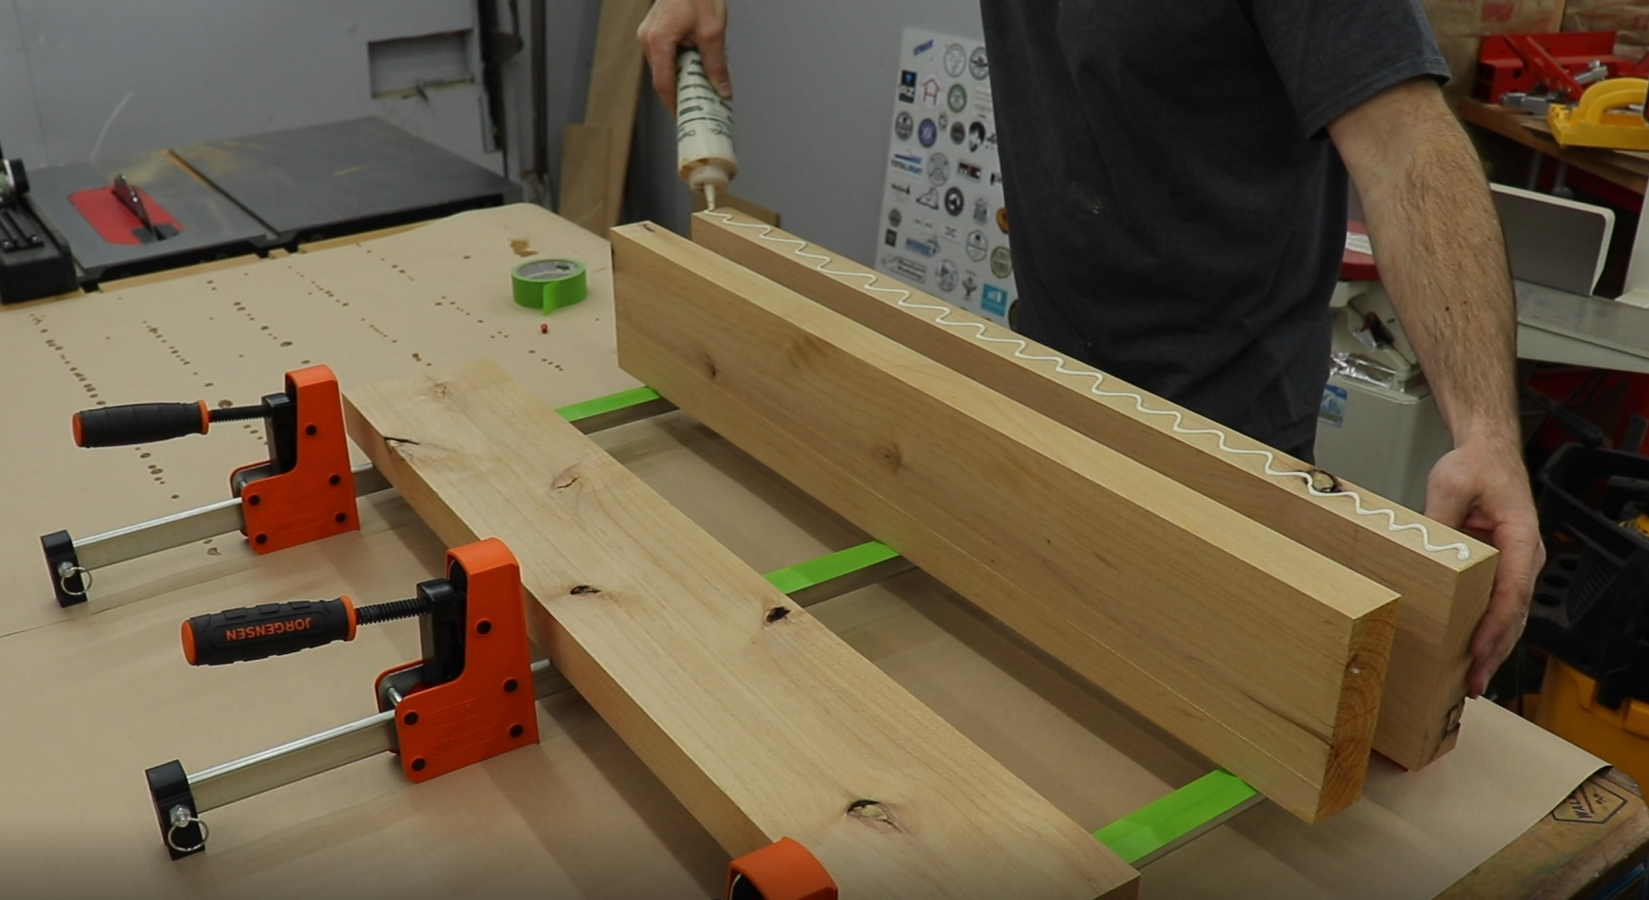
I typically use biscuits when gluing up tops but these were not very big and the boards were pretty flat so I didn't really need them for alignment this time.
I used titebond 3 and made sure to evenly spread it out for all the joints. Also when doing glue ups I make sure to alternate the grain pattern. It helps to keep it flat.

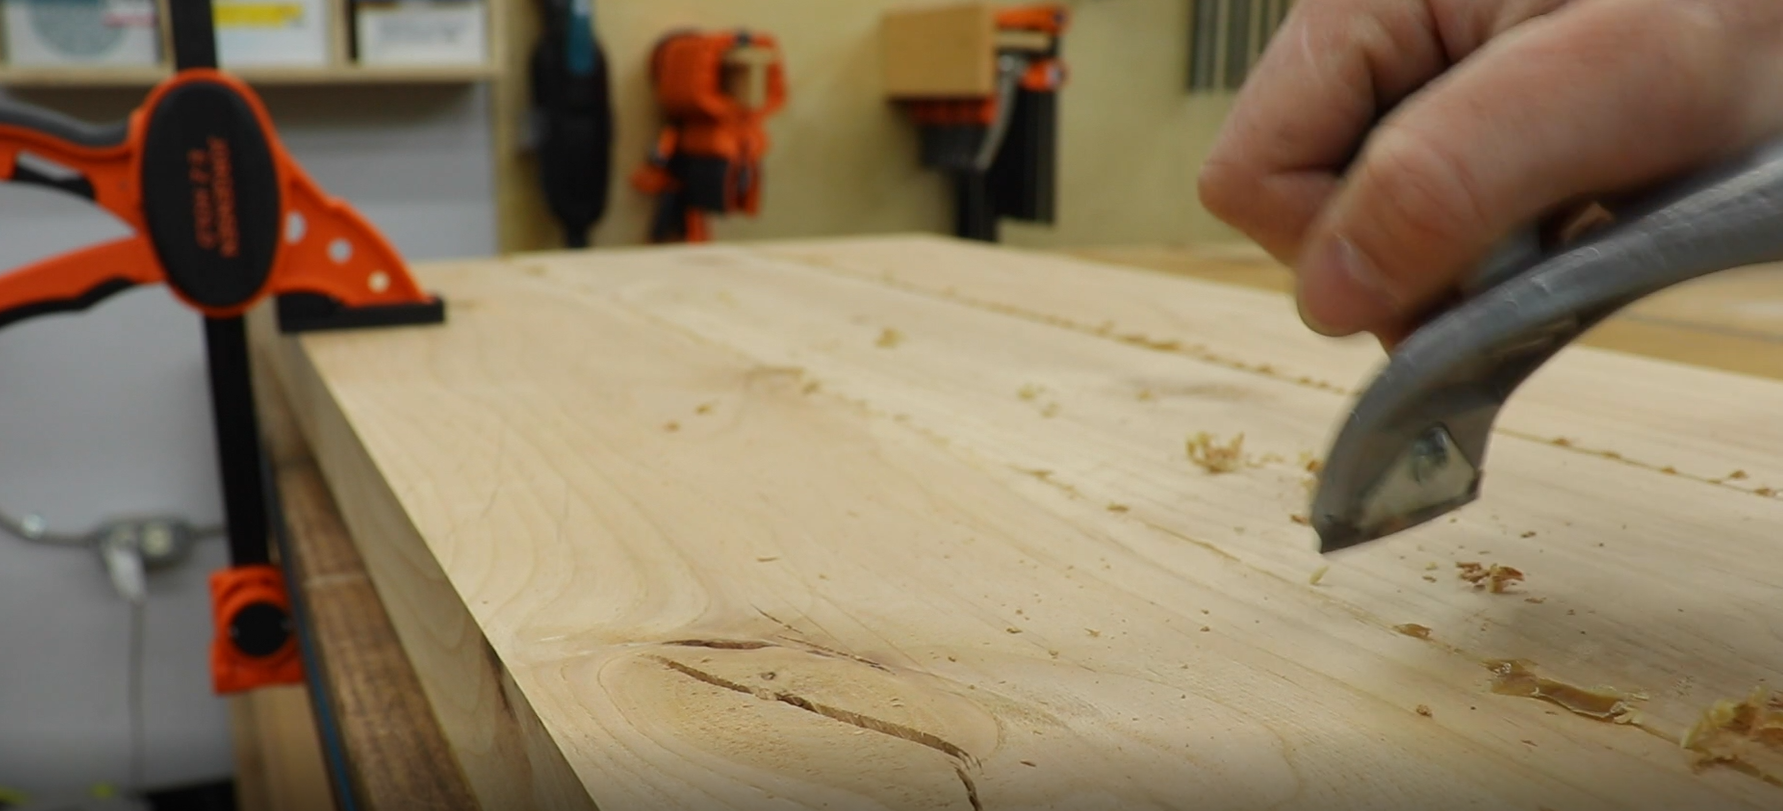
Another tip is scrape the glue off before it dries completely. At least off the top.It's much better than sanding or scraping it off once its cured.
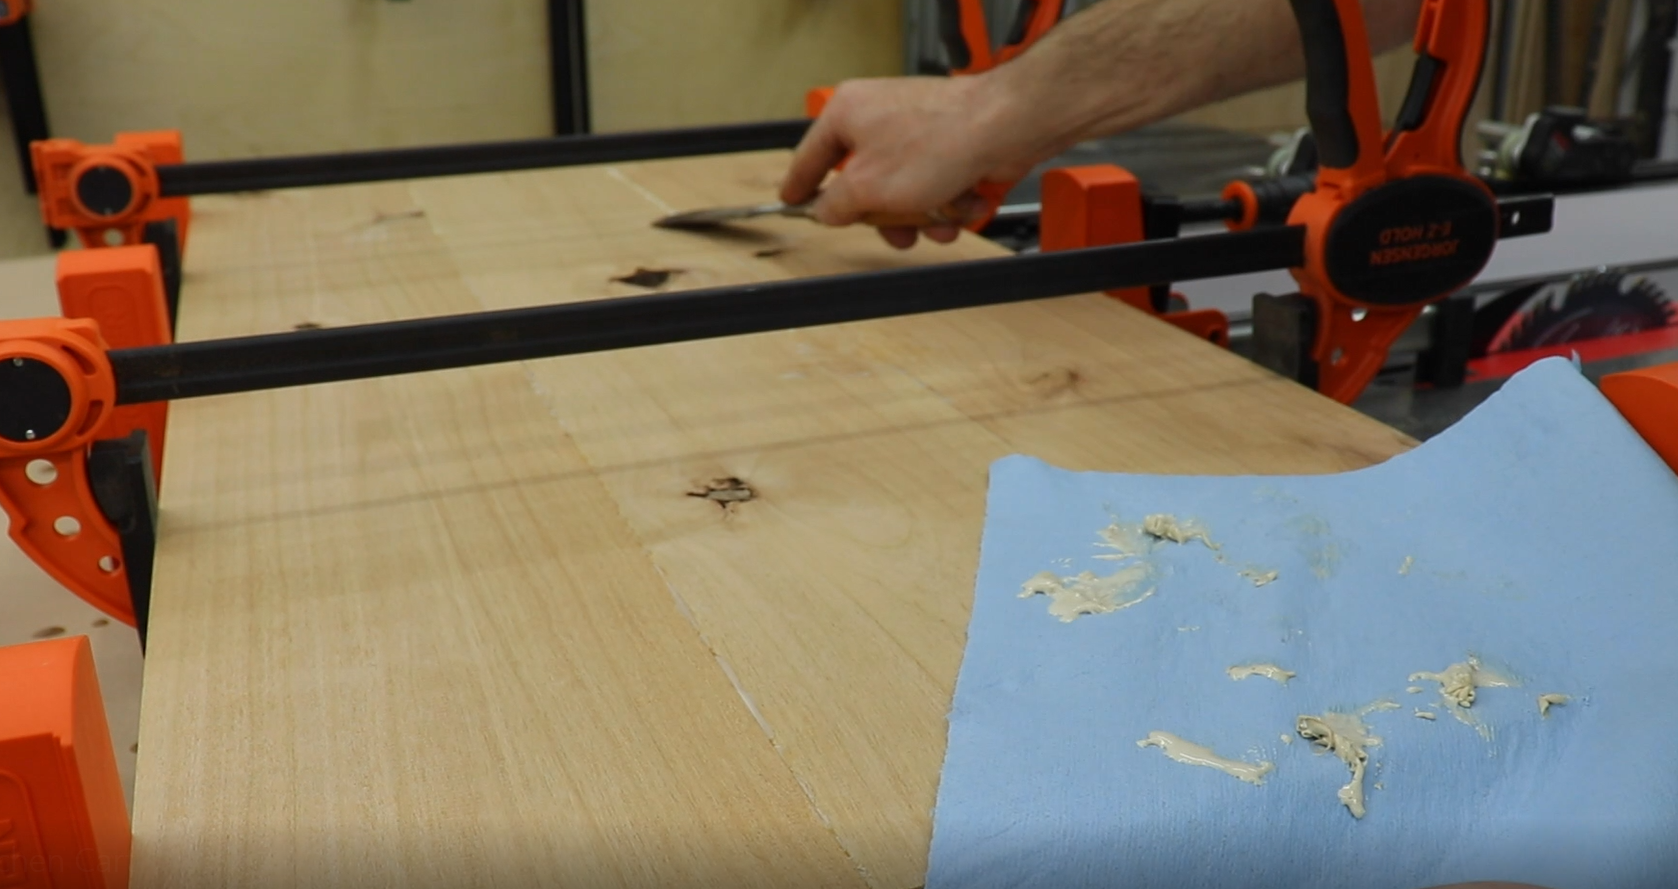
For the glue you cant get to before it dries, using a scraper will get the majority of it off.
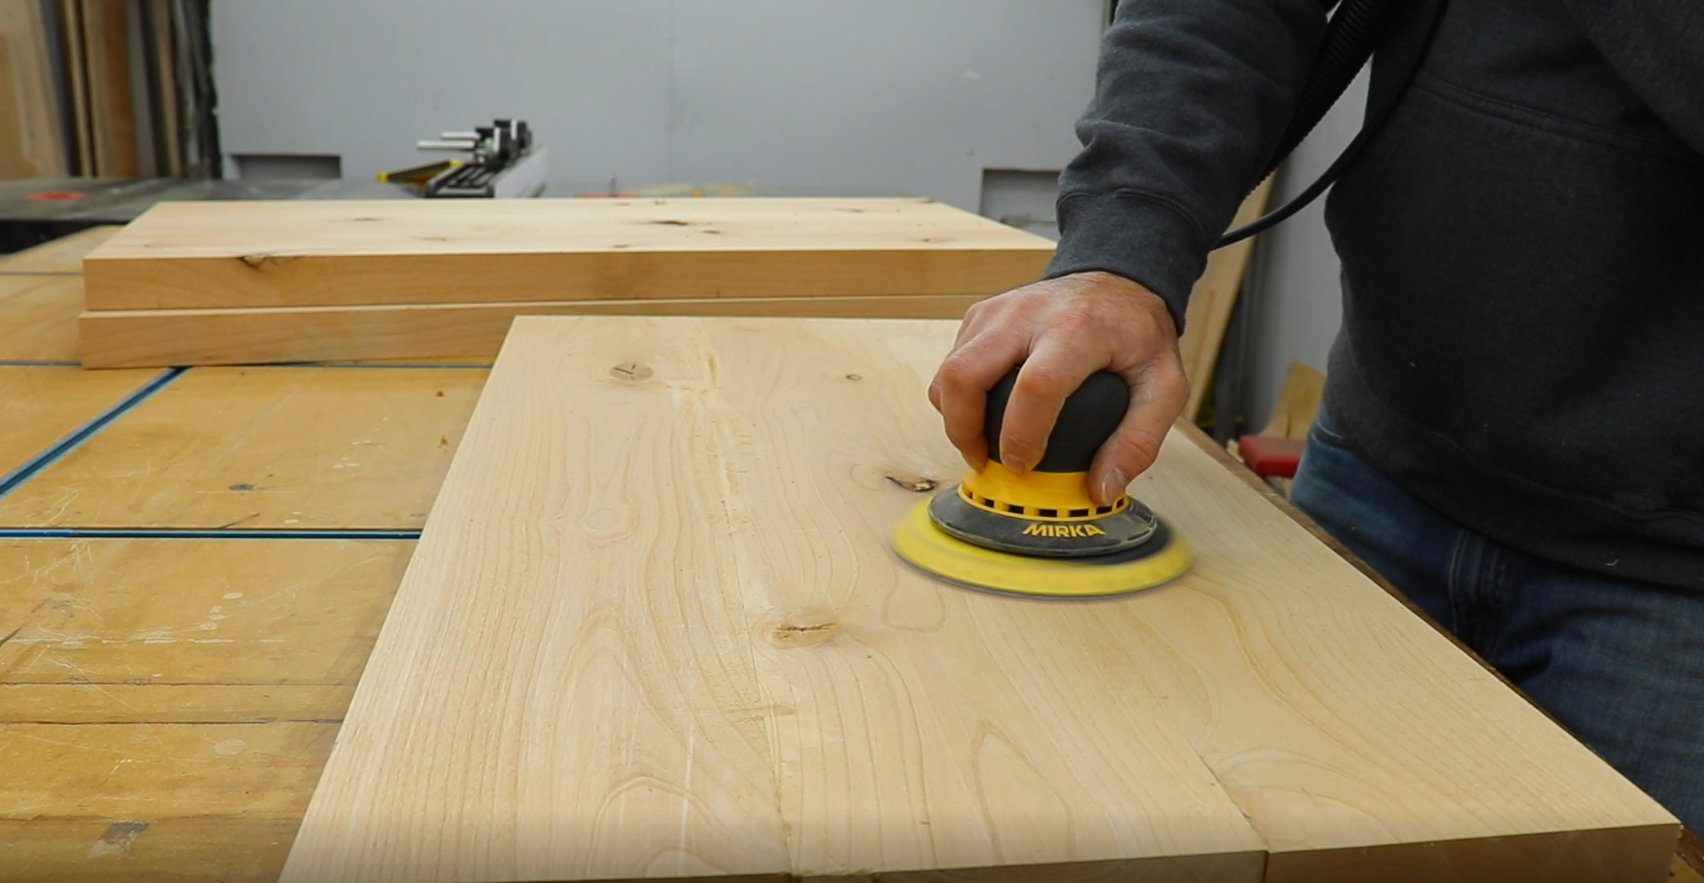
Once all the glue was gone I grabbed my orbital sander and flattened everything with 80 grit.
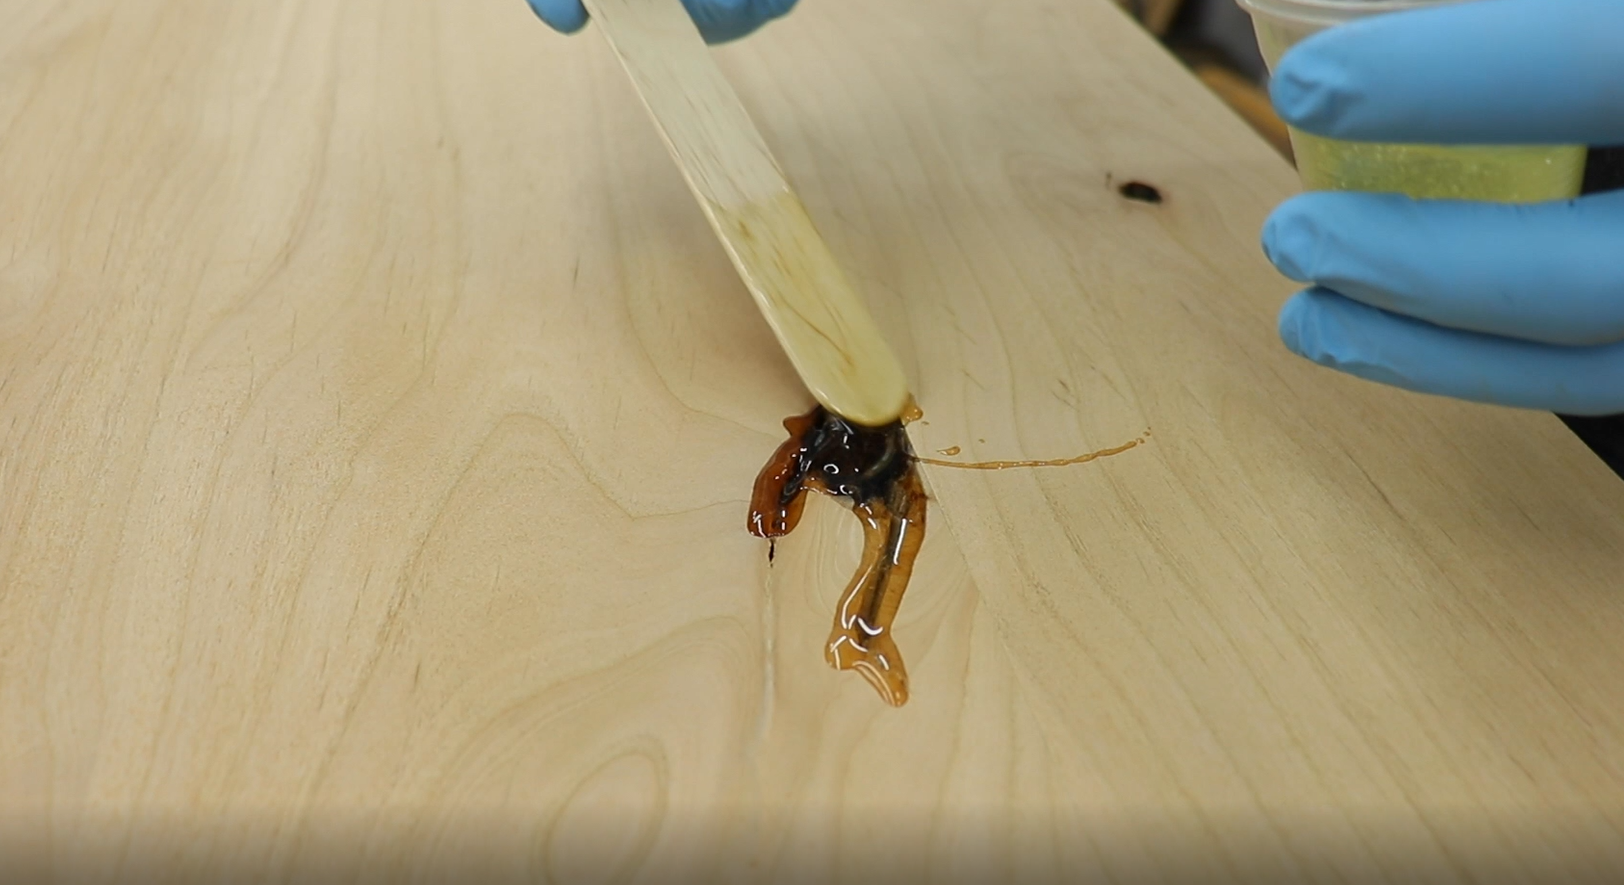
After I had it all flattened I grabbed some masking tape and taped off any knots or voids on the underside of the shelves. These will be filled with epoxy.

I like to use a Low Viscosity Resin. It flows into the cracks the best. You may have to do this process a couple times before they are all the way full. The resin tends to sink down overnight.
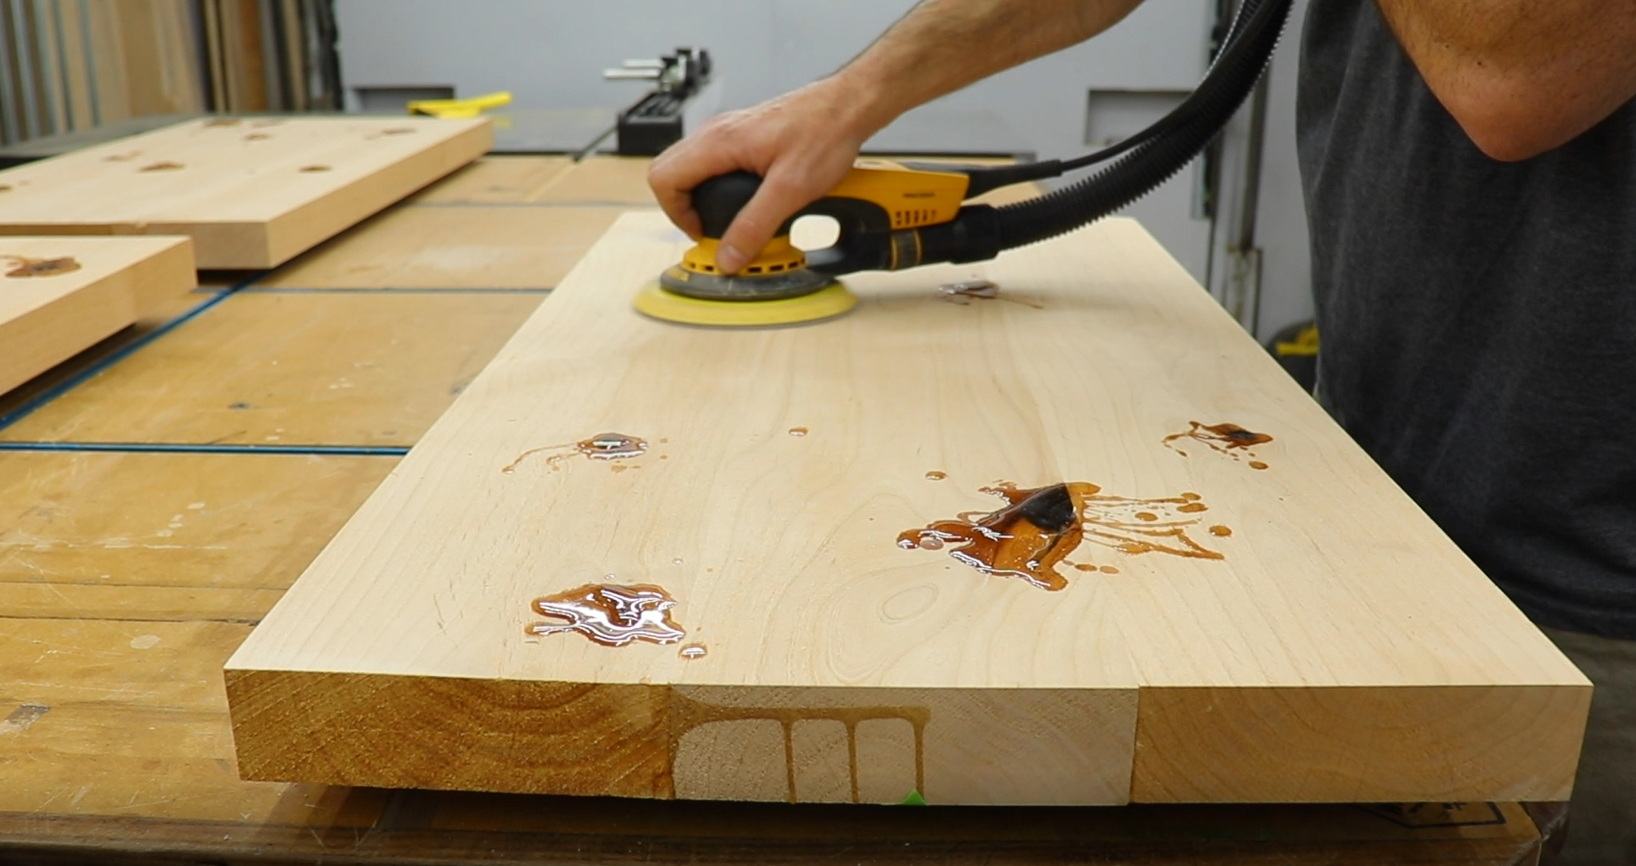
Once the resin is all cured then I go back to my orbital with 80 grit to sand down the epoxy flush with the top. Be sure not to sand to long on one spot because the resin will get hot and start to melt and gum up the paper.
I do this so the tops of my shelves will be nice and smooth but also give that rustic look. Then I flipped it over and removed the tape.
Once the Epoxy was cured I sanded it all off and did a final sanding on all the pieces.
Onto my least favorite part. The black pipe. Luckily most Home Stores will let you buy 20 ft sections then cut and thread it for you. I went with 1" pipe for this project. I also got some double locking casters so these wont spin or roll.
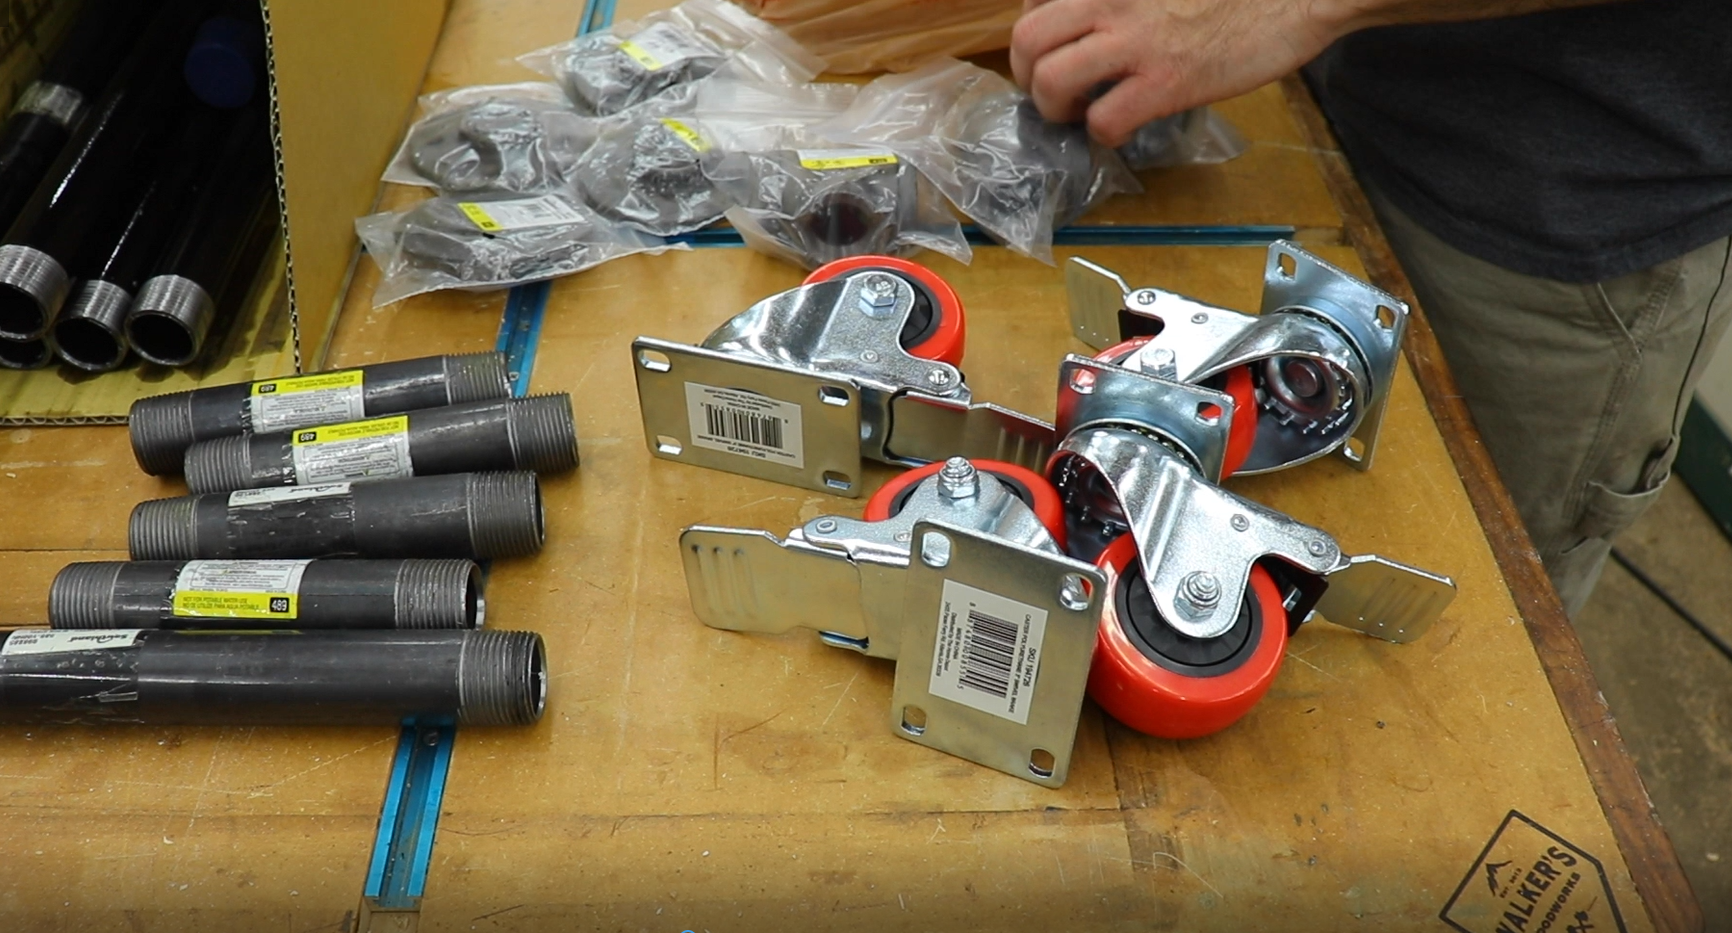
Some pieces I was able to buy in pre made lengths and also the accesories. All the pipes and fittings will have oil on them to protect them from rusting. To clean this off I use acetone. It's important to get all the oil off so the paste wax finish will adhere to the metal.

Once they were all clean I could start assembling the base. Just getting everything hand tight at first. Make sure you wear gloves for this because some of the threads are pretty sharp.
Doing this always reminds me of legos, or lincoln logs, or knex. I think I am getting old.

I grabbed my tack saw to trim the ends to final length. If you don't have a track saw you could definitely use a circular saw with a guide.

Then it was time to cut those notches in the middle shelf. I just measured and marked with a ruler and square where I needed to cut then took it over to the band saw. If you don't have a band saw, a jigsaw would work just fine.

I grabbed my palm router and went over all the top edges with a 1/8" Round over bit.
This particular one is a Whiteside bit with Astra Coating from Bits & Bits company. They gave me a code to share with you guys. So if you use the code WALKER15 you will get 15% off your order on the Bits & Bits Website.

My sister wanted an outlet built into the top of the cart so I found this one on Amazon that was perfect. I marked out where I wanted it to go and used a hole saw to cut it out. I could have used a jigsaw, but i'm not that confident in my circle cutting skills and hole saws are fun. It was to thick to go all the way through so I flipped it and finished the hole off from the other side.


I pretty much only use Rubio now days in the shop. It's just so easy to apply and looks great.
Also the hardening oil and wax blend provides great protection against water and normal use.
Basically you just spread it out then buff it in.


I went over the frame one last time with acetone to make sure it was free of dust and oils.
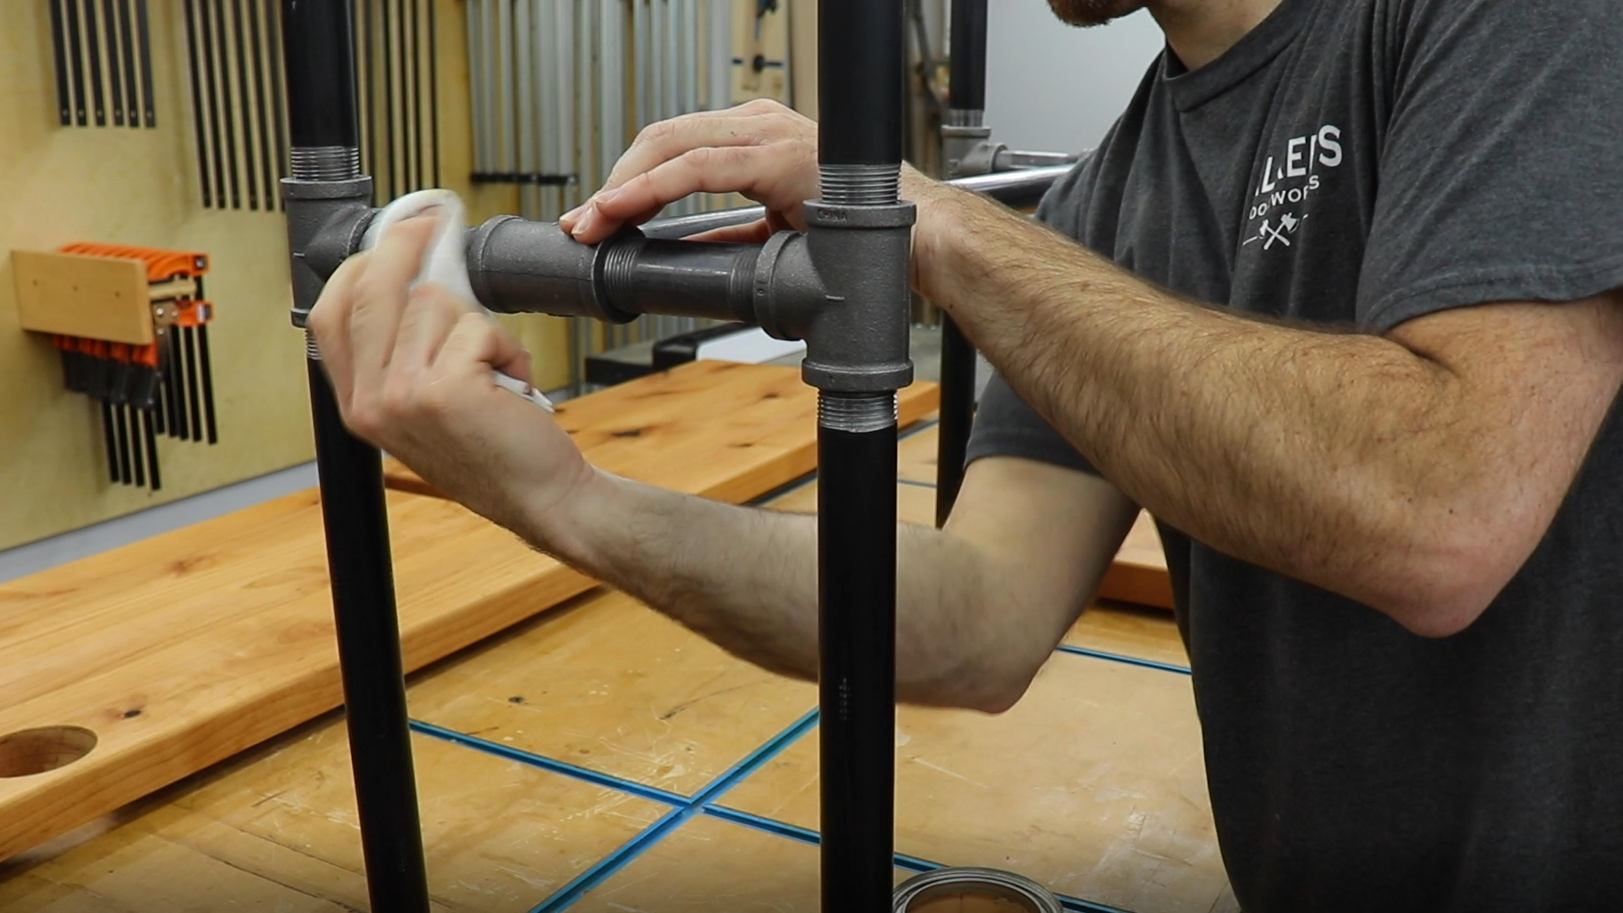
I have used a clear spray enamel before but for something thats not going to be in a humid room like a bathroom I think the paste wax works great and gives it a flat sheen.
To apply it, just wipe it on all the surfaces, wait a couple minutes then buff it out.

Once that was done I could start assembling it. I started with it upside down, making sure the flanges were all sitting flat. Then I made sure it was centered before securing it to the top.

I pre-drilled using tape as a depth gauge then started the screws with an impact. I always finish sinking the screws in by hand to make sure they don't strip.

Then I marked where I wanted the casters with a center punch.

I used cap head screws and some washers to attach them to the bottom shelf.

I actually didn't get it on film somehow but I attached the middle shelf to the crossbar with some
1" two hole straps.

Adding the outlet was the final step. There is a detachable cord that plugs into the bottom of the outlet by the way.

With that the cart was finished! Don't forget if you want to build one of these yourself I do have plans available HERE. I always appreciate you guys reading and your support. Thanks again and I will see you guys on the next one!
